![]()
Avonni is a powerful Salesforce Lightning Component Library that enables users to create highly customizable and dynamic applications in Salesforce. With a rich set of pre-built components, Avonni makes it easy for users to build complex UI elements and create engaging user experiences. In this blog post, we’ll take a closer look at how to use Avonni to create custom Salesforce applications.
Getting Started with Avonni
To start using Avonni, you need to have access to a Salesforce org. Once you have logged in to your org, you can navigate to the App Builder and create a new Lightning App. In the App Builder, you can drag and drop Avonni components onto your page and configure them to meet your needs.
One of the key benefits of using Avonni is its extensive library of pre-built components. These components can be used to create a wide variety of UI elements, including buttons, forms, tables, and charts. By using these pre-built components, you can save time and reduce the amount of custom code you need to write.
Creating Custom Components with Avonni
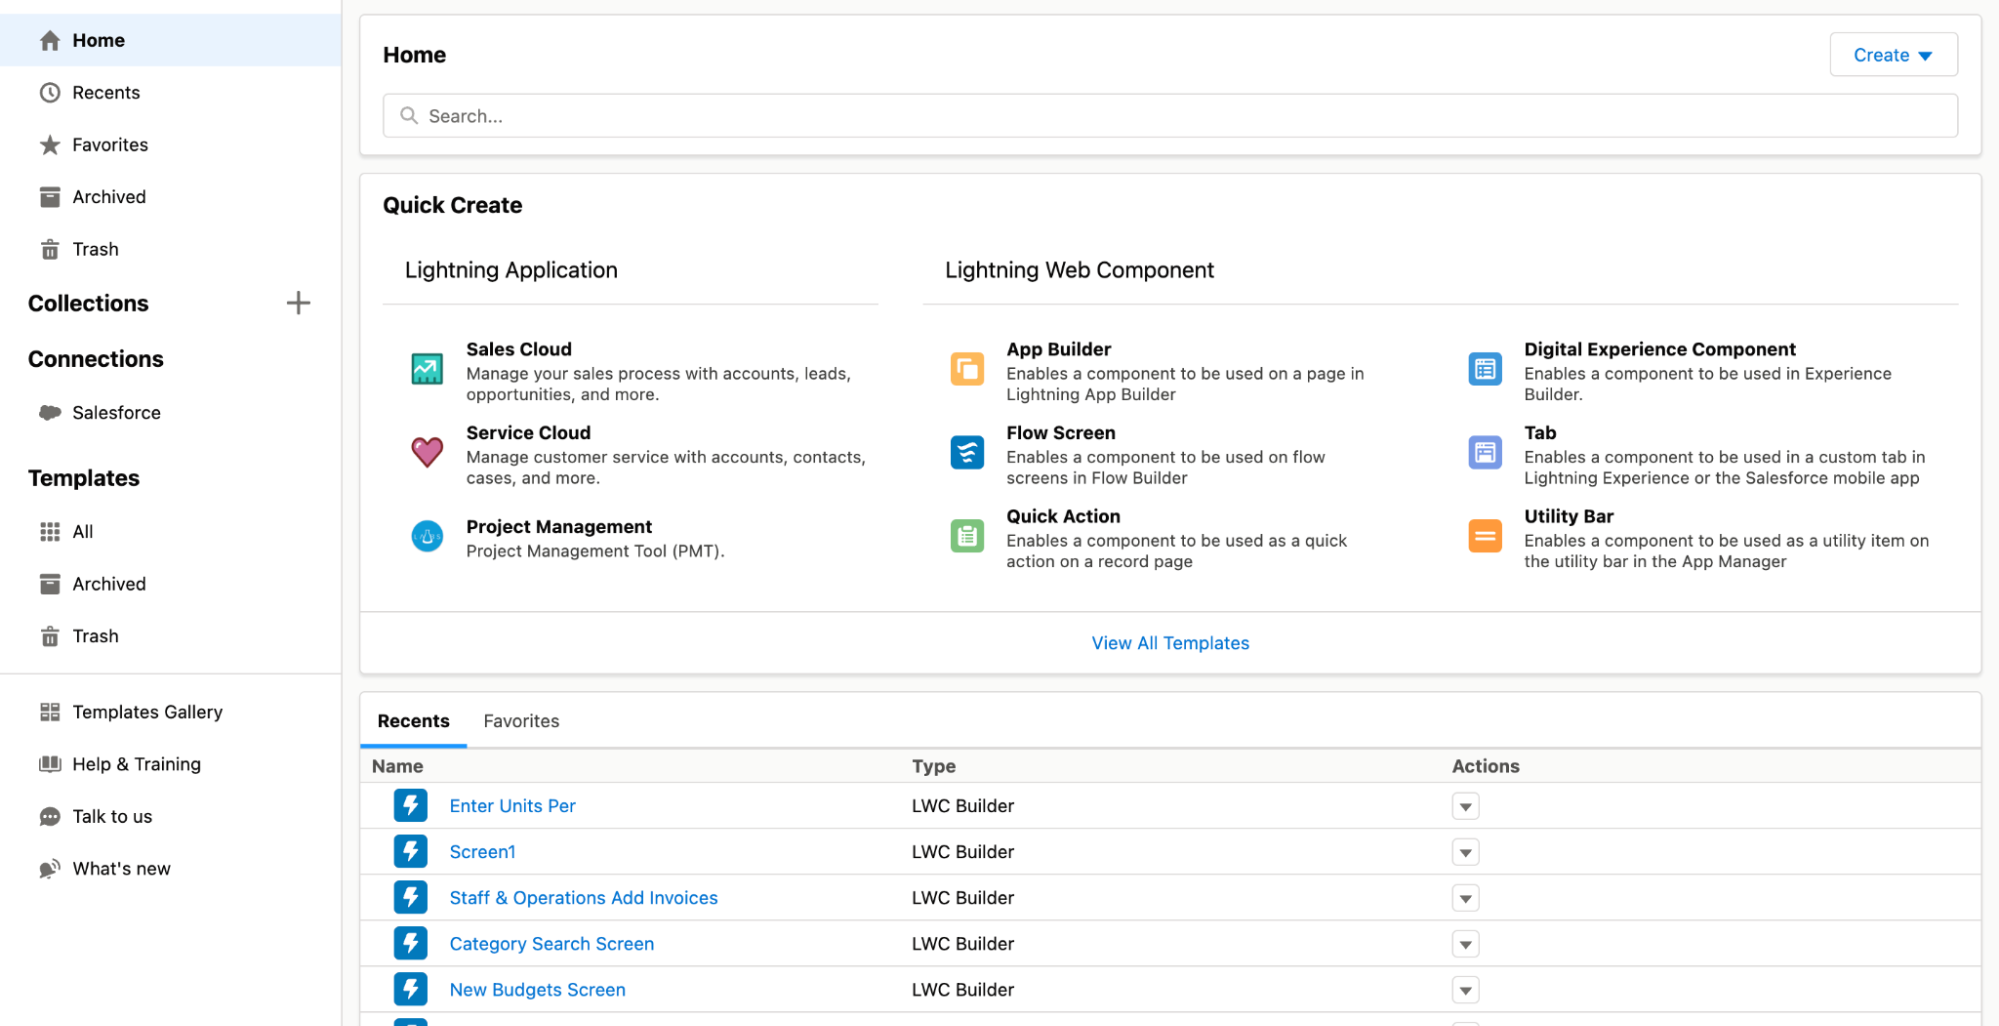
In addition to using the Avonni pre-built components, Avonni also provides tools for creating custom components. This is useful if you need to create a UI element that is not available in the pre-built library. To create a custom component, you can use the Avonni Designer, a web-based tool that allows you to create and customize components visually.
To create a custom component with Avonni Designer, start by selecting the component type you want to create. You can choose from a range of options, including buttons, input fields, and tabs. Once you have selected your component type, you can use the drag-and-drop interface to add fields and configure the component properties.
Once you have created your custom component, you can save it and add it to your Salesforce org. You can then use the component in the App Builder, just like any other Avonni component.
Creating a Quick Action
Quick Actions let your users quickly do tasks, such as create records, log calls, send emails, and more. With custom actions, you can prototype the look and feel of any quick action
Tips for Using Avonni
When using Avonni, there are a few best practices you should keep in mind to ensure that your applications are easy to maintain and customize.
First, make sure you take advantage of the pre-built components as much as possible. These components are designed to be highly customizable, so you can usually achieve the look and feel you need without having to write custom code.
Second, when creating custom components, try to keep the component as simple as possible. Complex components can be difficult to maintain and may be prone to errors. Instead, focus on creating components that are easy to use and meet the specific needs of your application.
Finally, make sure you document your components and their properties. This will make it easier for other users to understand how your application works and how they can customize it to meet their needs.
Conclusion
Avonni is a powerful tool for building custom Salesforce applications. With its extensive library of pre-built components and tools for creating custom components, Avonni makes it easy to create engaging and dynamic user experiences. By following the best practices outlined in this blog post, you can ensure that your Avonni-based applications are easy to maintain and customize, and provide your users with the best possible experience.