In this generation where everything is online so why do we need to use paperwork for signing a document when it can be done digitally and why do we need to wait for a number of days for its confirmation when it can be done in minutes. So here comes DocuSign where we can sign a document digitally.
DocuSign eSignature is a very popular eSignature platform to send and sign the agreement securely anywhere at any time. It helps us in accelerated transactions so that we can easily get the results within the minimum time frame and we can proceed.
Salesforce DocuSign Integration
DocuSign Salesforce app enables you to make each agreement quicker and in a secure way for your association. It encourages you to get your information from anyplace around the world on cloud platforms. Indeed, even the most complicated work processes can get automated quicker through DocuSign integration which thus improves the implementation of business processes.
In Salesforce, we can find DocuSign in the managed package and install it from there. We can use one DocuSign account for one Salesforce environment.
How to use DocuSign in Salesforce?
After installation of DocuSign in your Salesforce organisation. Find the DocuSign on the App launcher and click on it.
-
Click the DocuSign Admin tab and select the DocuSign tab in it.
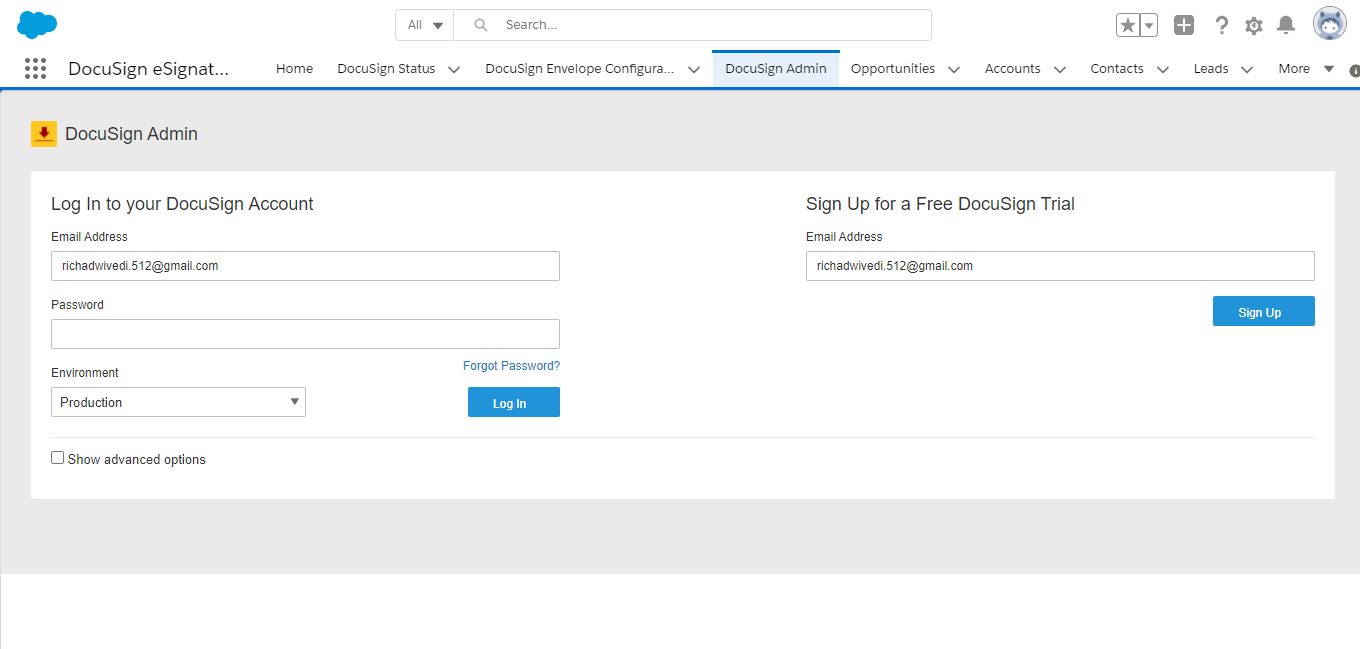
- Enter the DocuSign credentials if you have one and if not then go to step 2
- Click on the Salesforce environment connected with your DocuSign Account.
- Click login
- Then you can enter the Salesforce credentials and check the checkbox of I agree to…
- DocuSign click connect.
- Now DocuSign with a Salesforce account connected successfully.
-
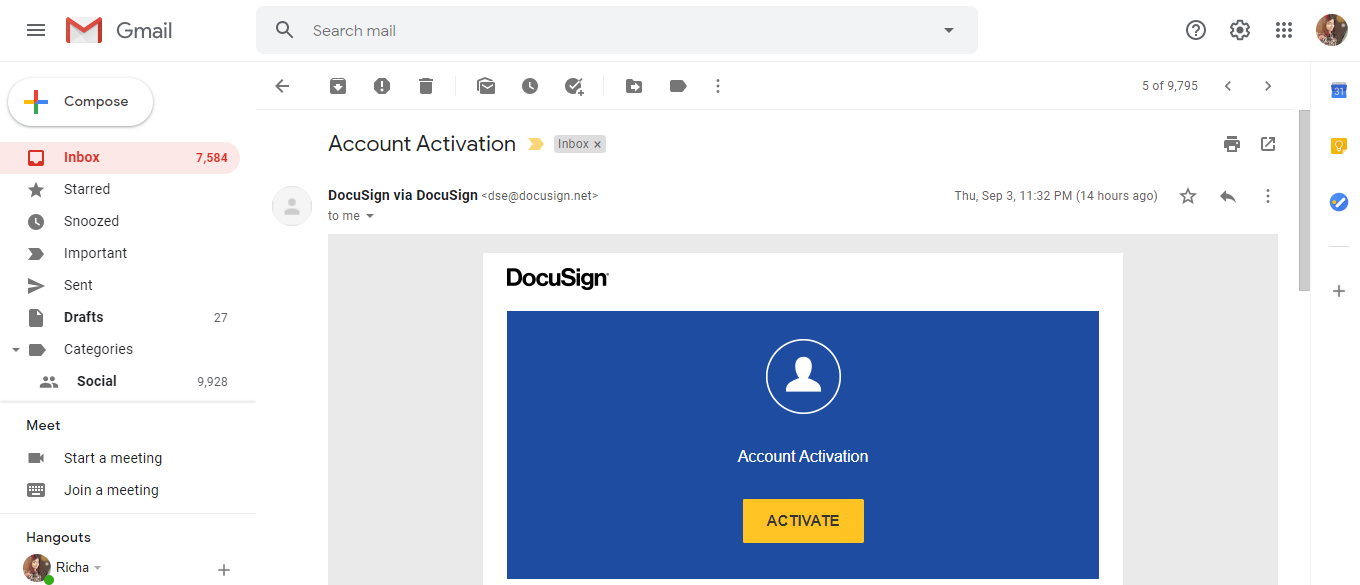
To create a DocuSign Account.
- Click on Sign Up.
- Fill the available information on the page and submit.
- Click login
- Then we will Activate Link on our mentioned email address.
- In the email follow the Activation instruction to Activate the account.
- Return to DocuSign in Salesforce and continue to step 1.
Settings and Sending a Document for Signature with DocuSign:
- Click on the DocuSign admin tab to view further settings.
-
Go to the setting tab here we can these settings which are given below
-
Email Setting:
- Here we can disable ‘User Email Subject & Email Message Editing if required(Shown in Red box).
- Also We can set email message and email subject name or wecan remain it as default shown as in the image.

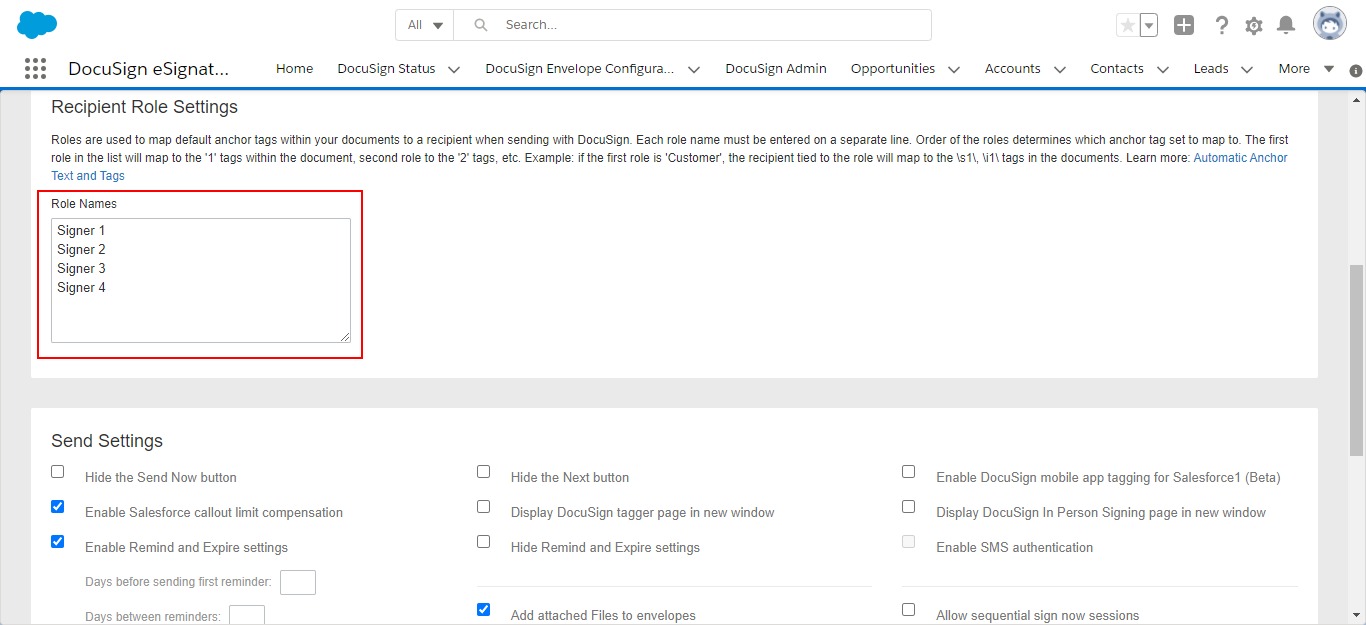
- Recipient Role setting:
In this we can add more Recipient Roles if required. DocuSign Already provides four to start with. - Send settings:
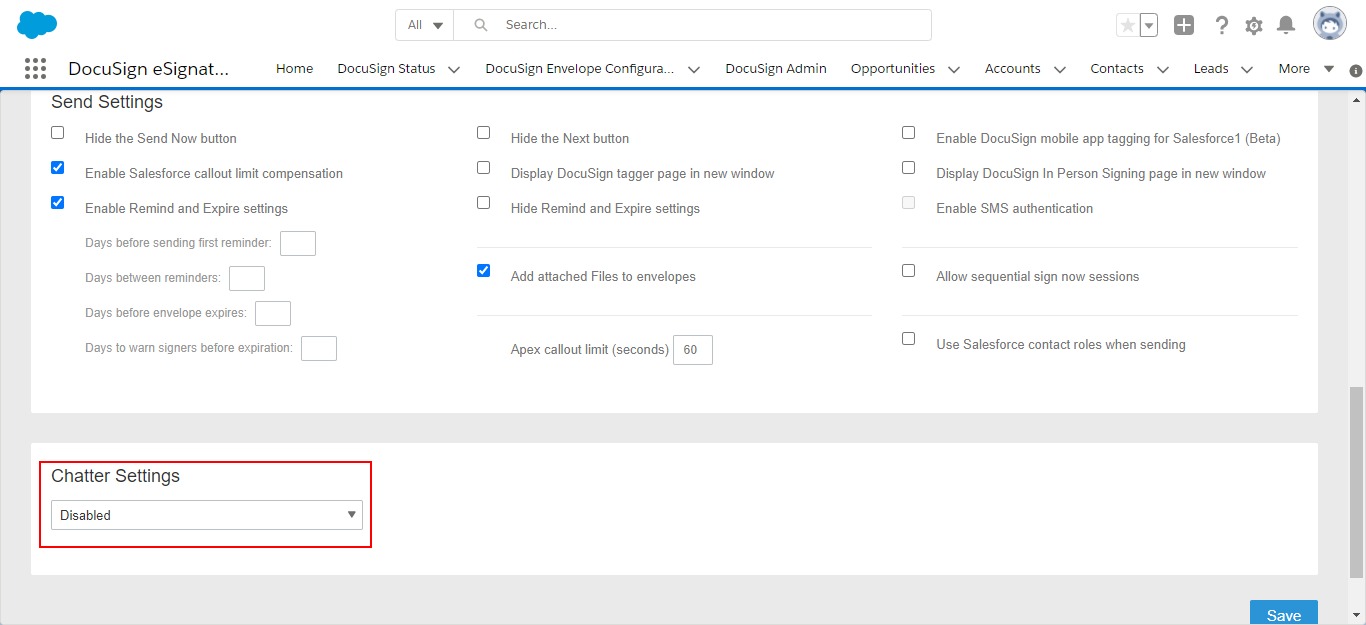
In this we can do lots of settings according to the requirement found in the below image. - Chatter Setting:
If you wish to enable chatter feed posting regarding the status of the document then we can do it from here.
- Click on “Save” if you have made any changes.
- Click “Layout tab” inside DocuSign Admin where we can add DocuSign features for the Salesforce objects (Here for an example I have selected layout for “Account object”).
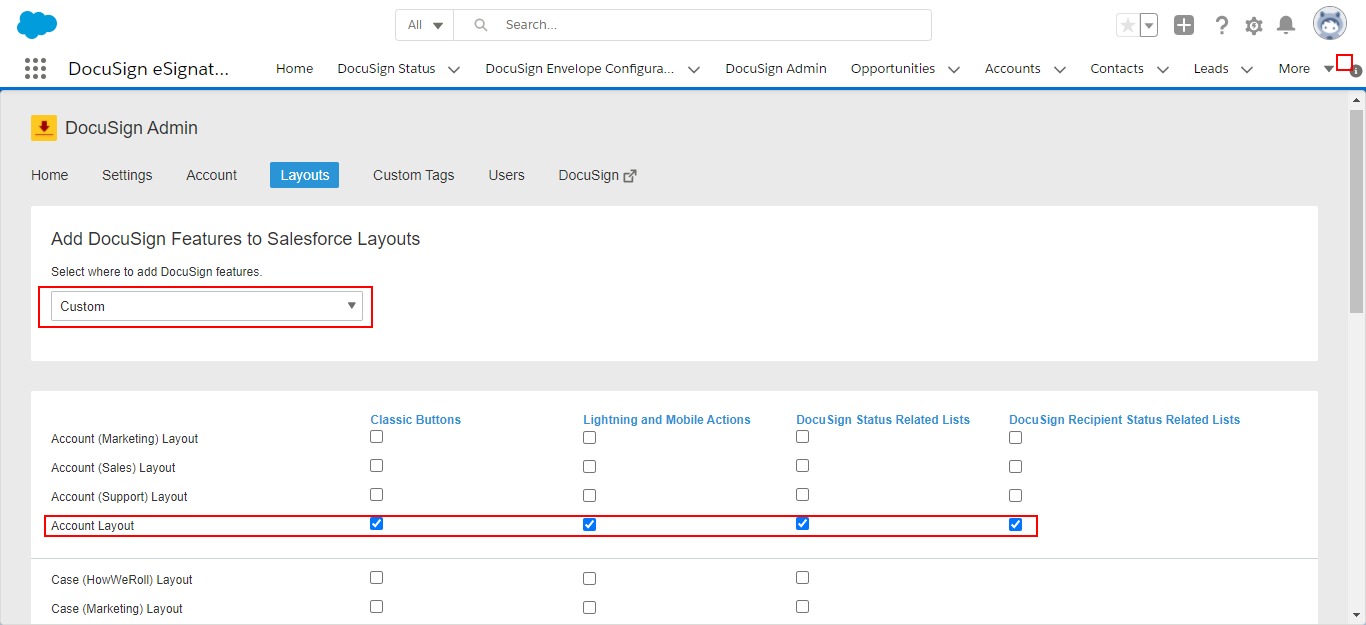
- Click Save after selecting for an object.
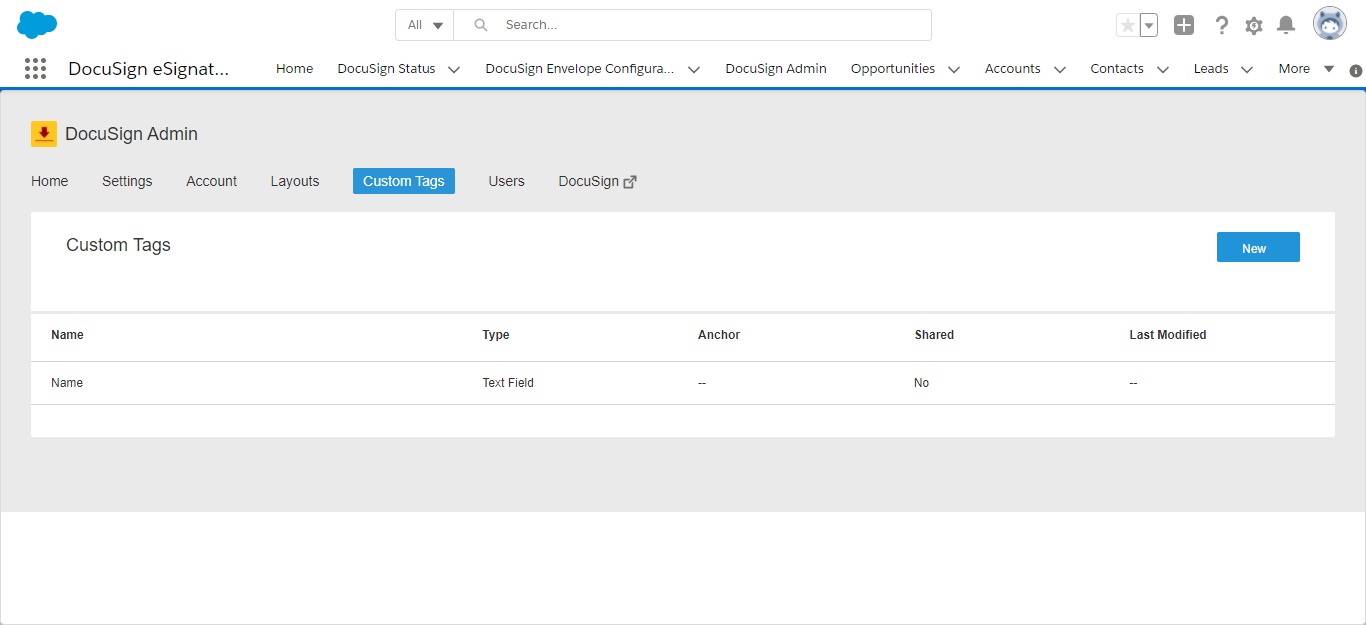
- Go to the Custom Tag here we can create our own tag toad them in template according to our need (Here i have created the name field through a custom tag by clicking on “New” Button).
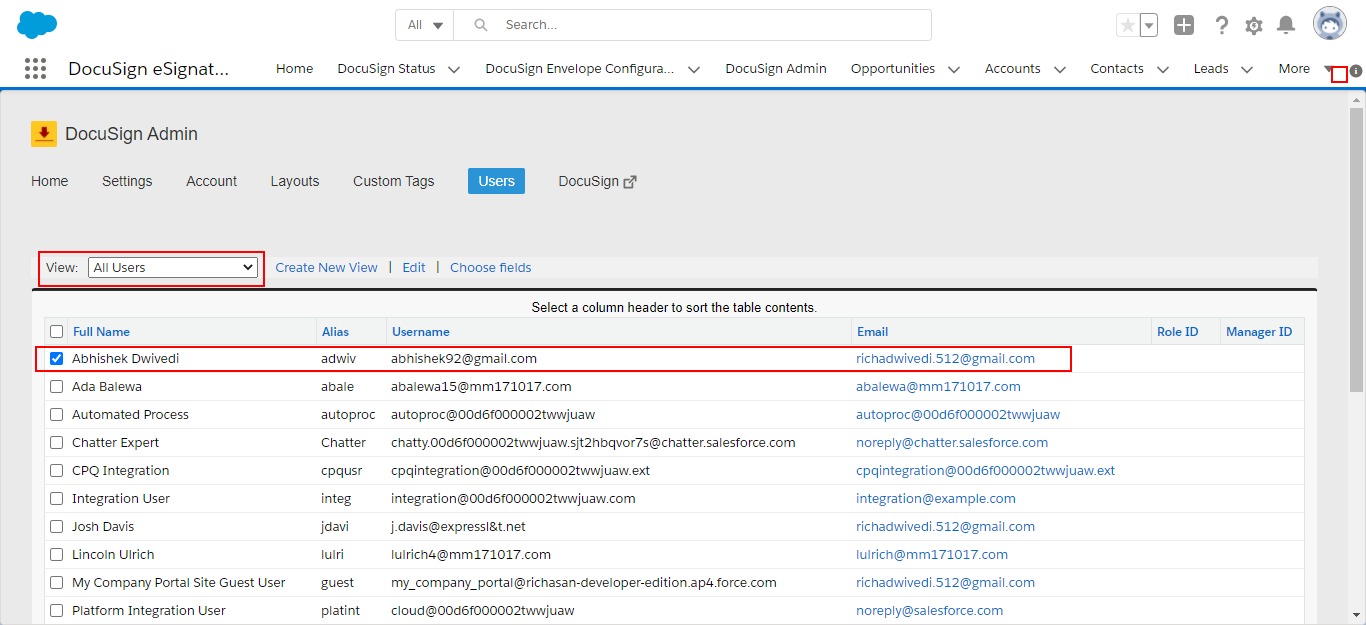
- Go to the ‘Users’ tab inside DocuSign Admin Select the users you wanted to add for DocuSign Active User I have selected one shown in the image and we can also change the view from the dropdown view list. Note: Once the user is selected then they will get an email to activate their account. You must need to purchase DocuSign account to every user that you wish to give access
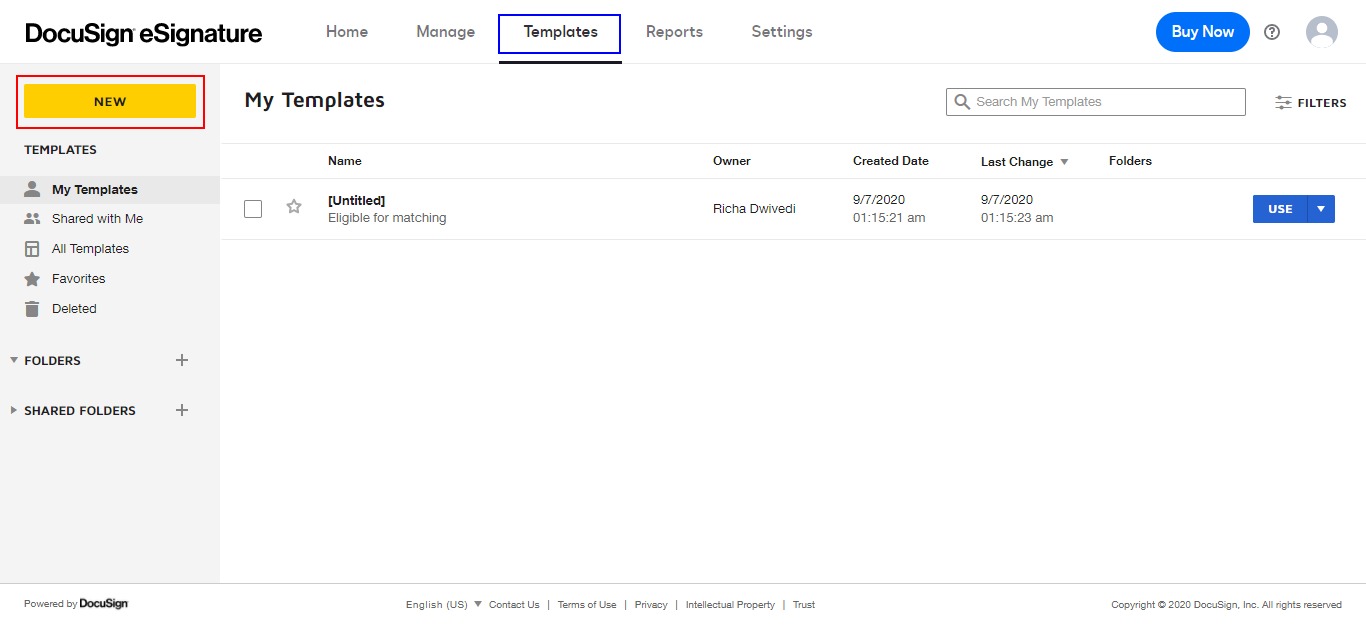
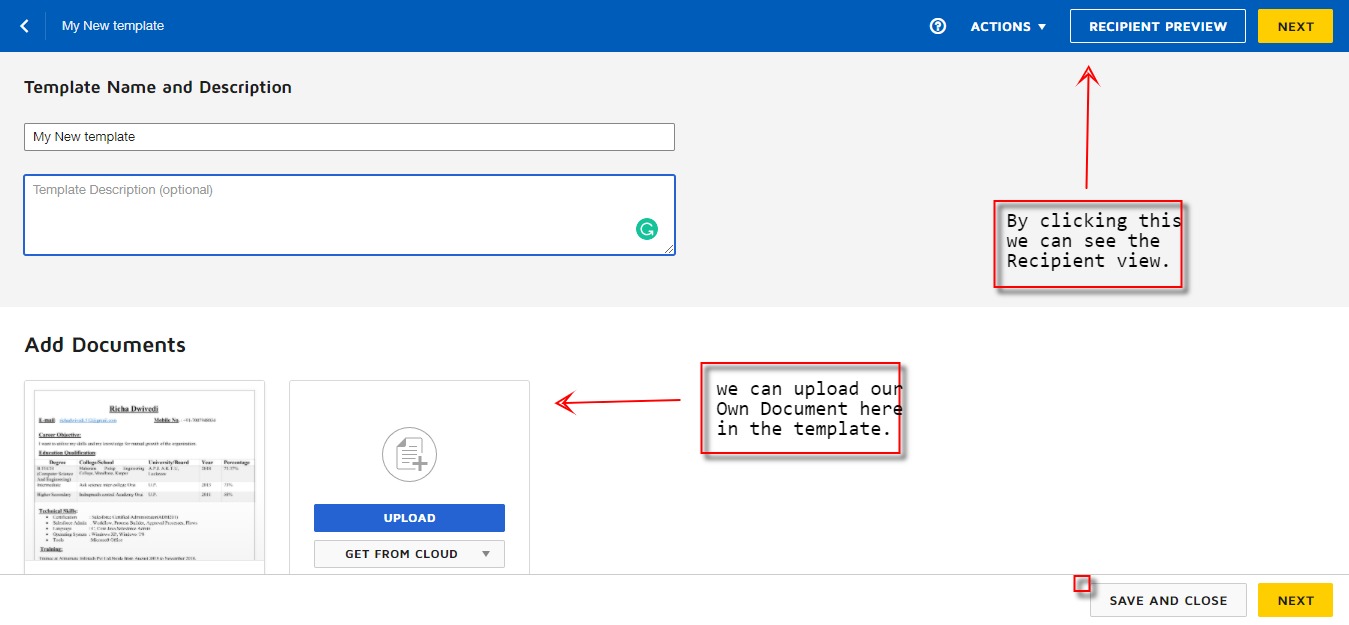
- For signing documents go to DocuSign and create a template by clicking DocuSign inside DocuSign Admin tab it will directly navigate to the DocuSign website.
- On the DocuSign website click “Template” tab to create the new template or you can upload a template from there.
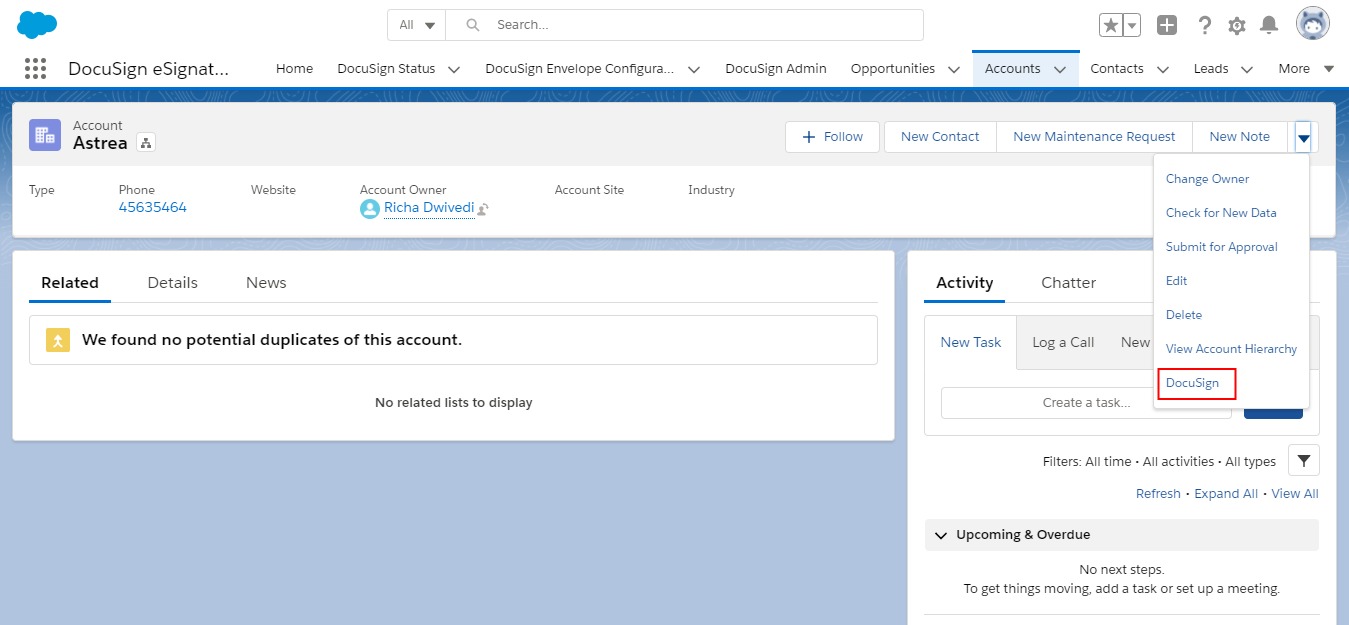
- We will go to the Salesforce Account object tab as we have selected that in DocuSign Layout. In this select an account on which we want to work eg. Astrea click DocuSign inside Astrea Account.
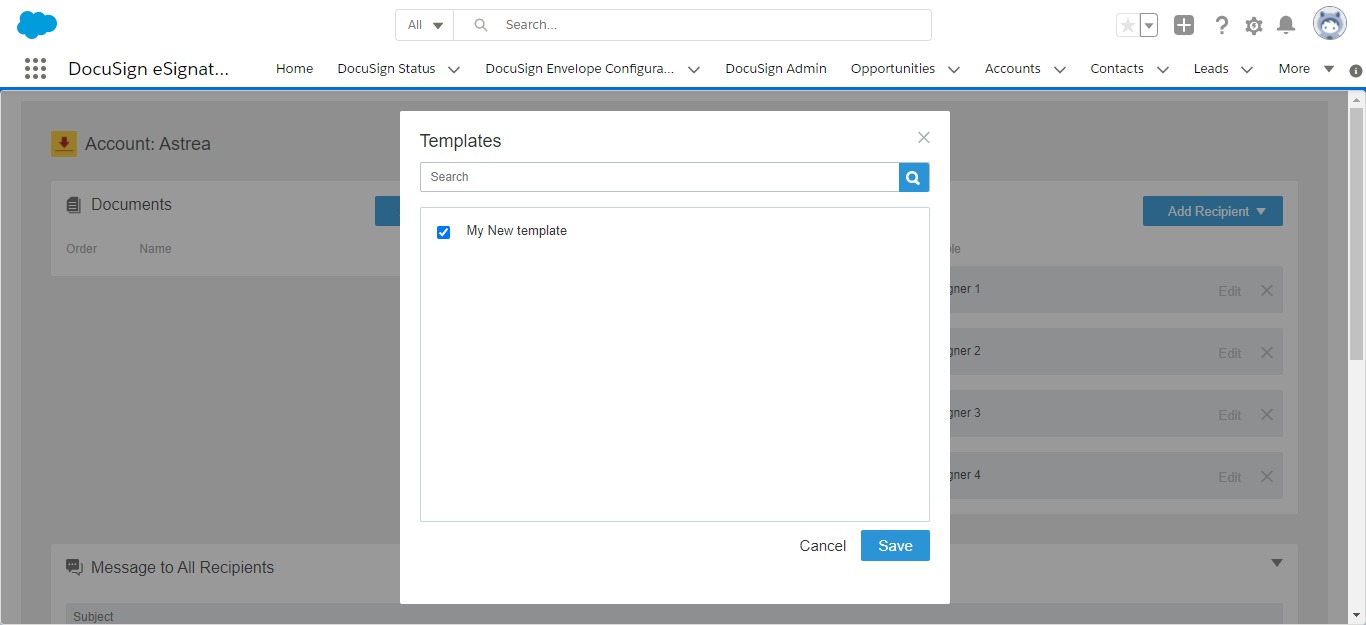
- After that click add the document which we have uploaded in DocuSign and add the recipient into that and save it and Next.
- After clicking Next it will redirect you to that Document of DocuSign that you have selected recently.
- Now we can add the fields into that Document like Signature, Email, Name etc by drag and drop.
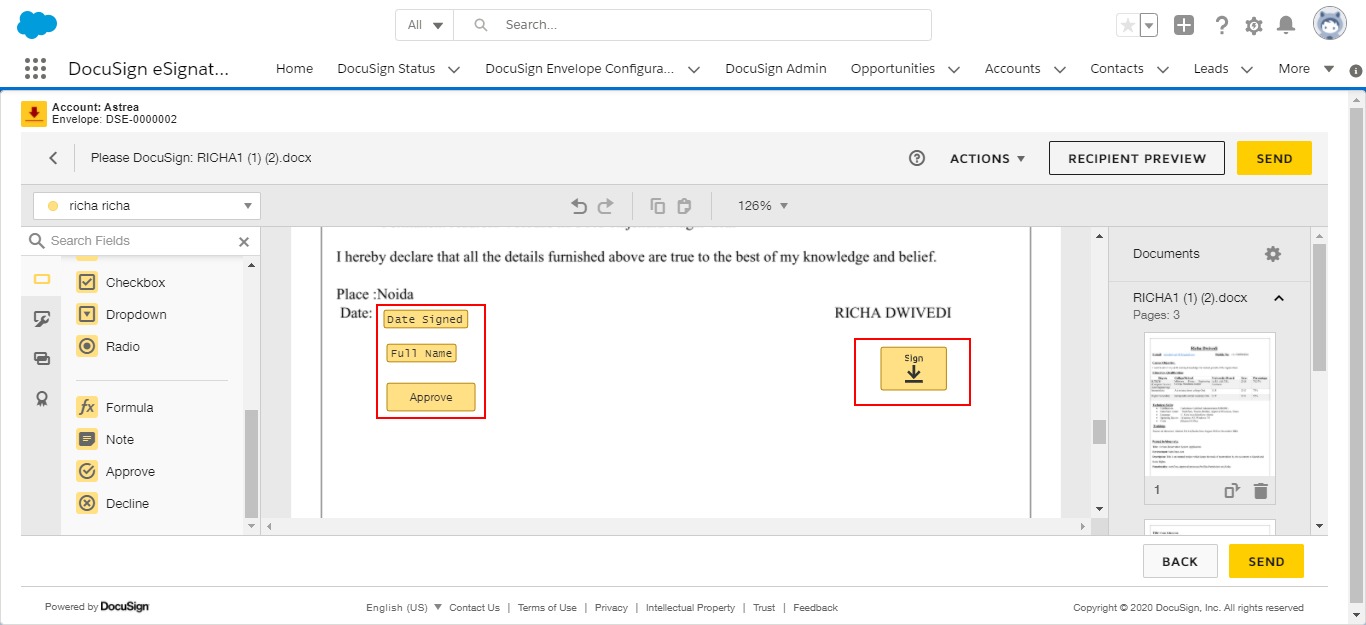
- By Clicking Send button It will send the document to the email id by which the Account is created.
- After clicking send an email will be sent to the recipient from DocuSign like shown below.

- Recipients will click on ”Review Document” from the email to see the document it will show like the image below.
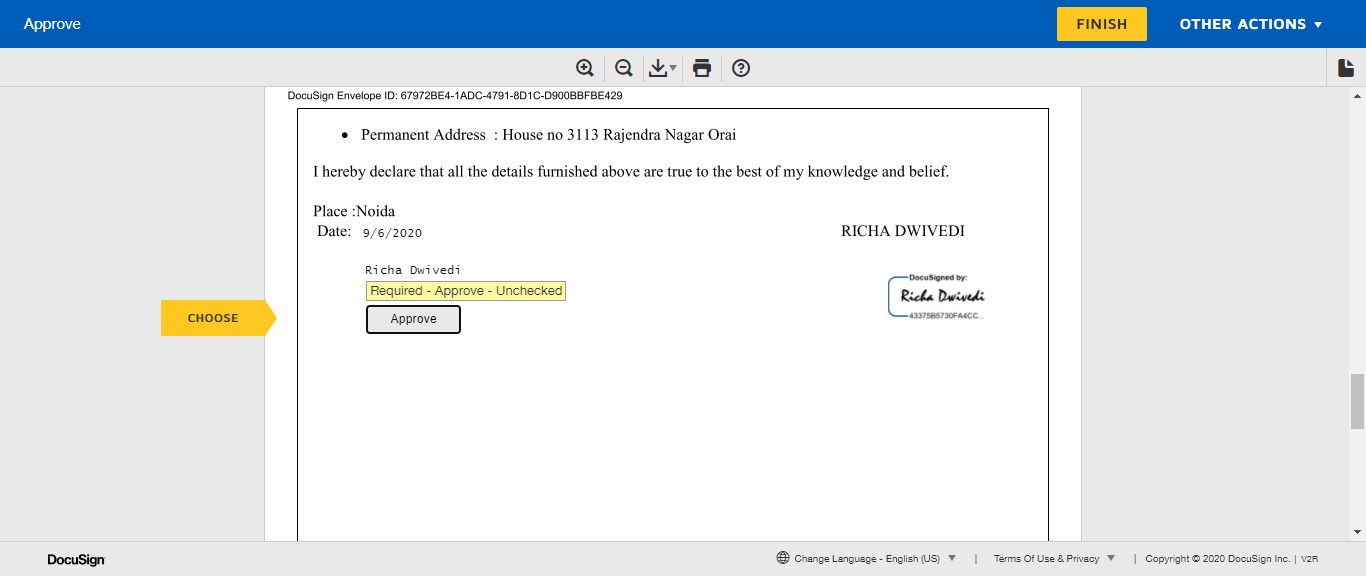
In this now you can Approve it by clicking the Approve button. When the Recipient approves that Document then confirmation mail will be sent to the sender.
You can also check the status of your DocuSign from the DocuSign Status tab.
Why should we use DocuSign?
- Reduce manual work.
- We can get the signature in minutes so we do not need to wait for a transaction.
- It is a secure way to have Approval digitally.
- It will save our documents on the cloud so we can fetch them from there according to our need
- Easy to send and receive the Document.
For any query on Docusign For Salesforce, contact support@astreait.com