Overview
Salesforce Surveys are used to create easy to use Surveys by simply editing to collect Feedback from the users.
With the Surveys we can add different types of questions and also can add the responses/options that participants will choose to collect the information. The Survey data that we collect from the user is saved in your Salesforce instance.
Later we can export the Survey data from Salesforce using tools like data loader or reports.
How to Create a Survey in Salesforce?
To create a Survey follow these steps.
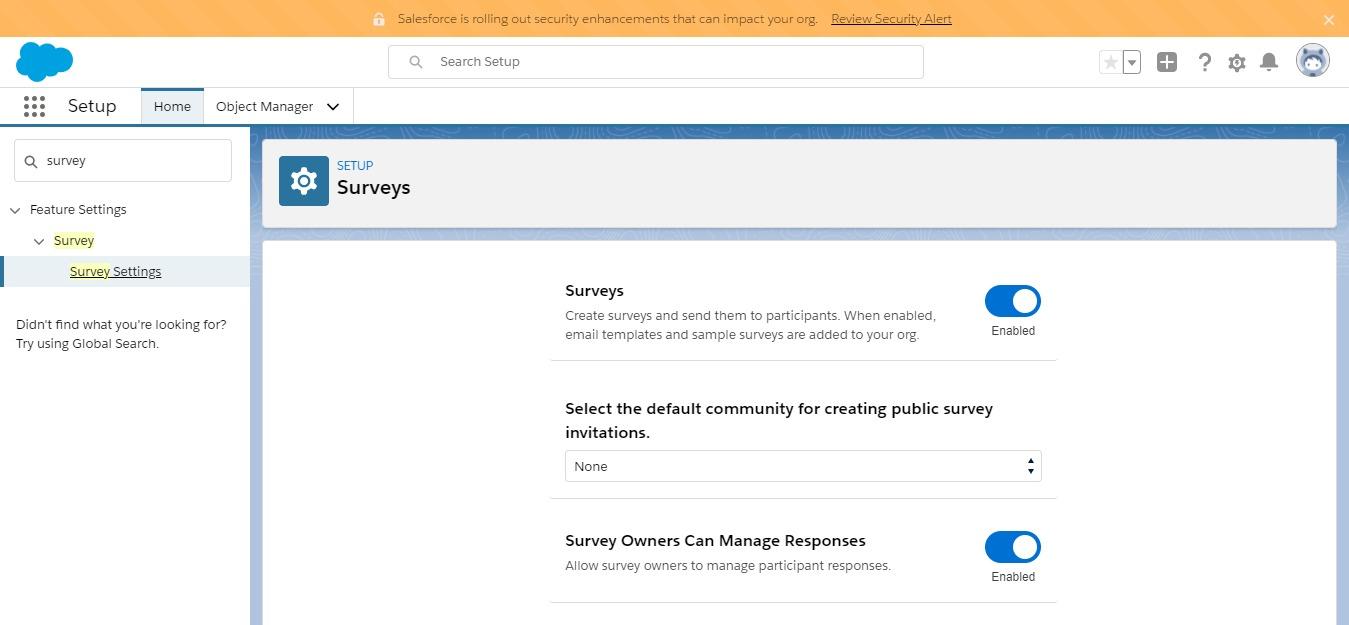
- Go to Setup and search for “Survey Settings” and enable the Surveys.
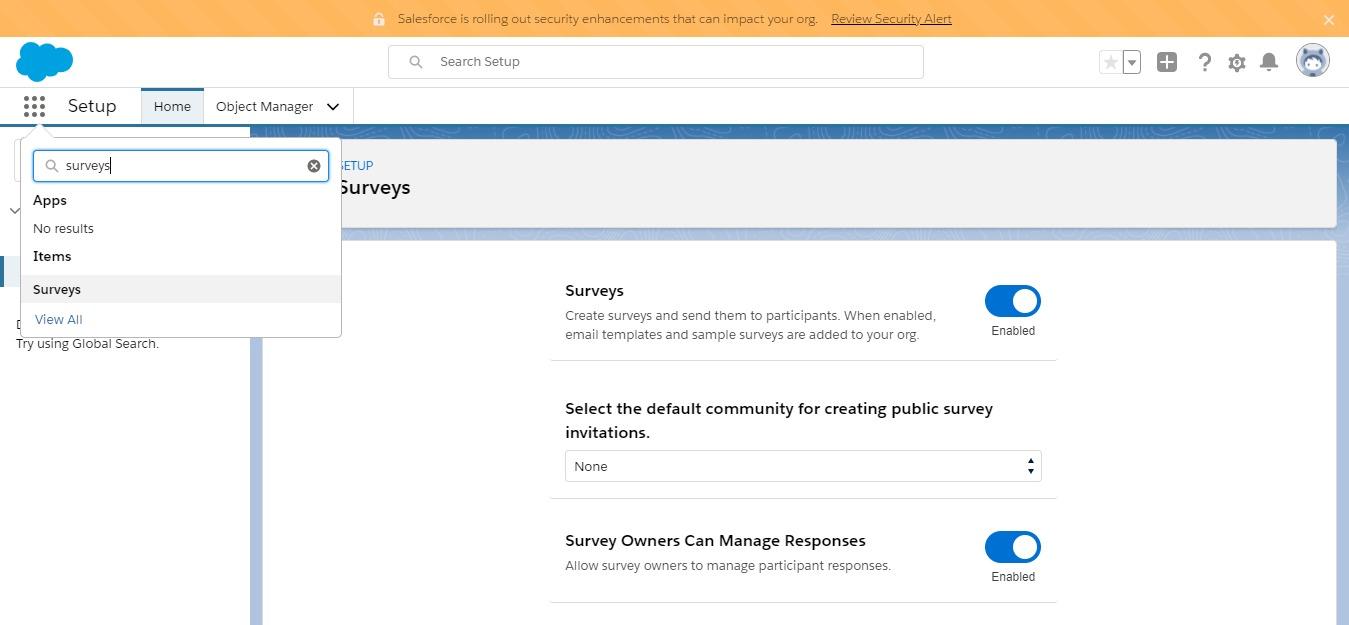
- Search for the Survey Application from the Applauncher and click on that. To create the Survey click on New button.
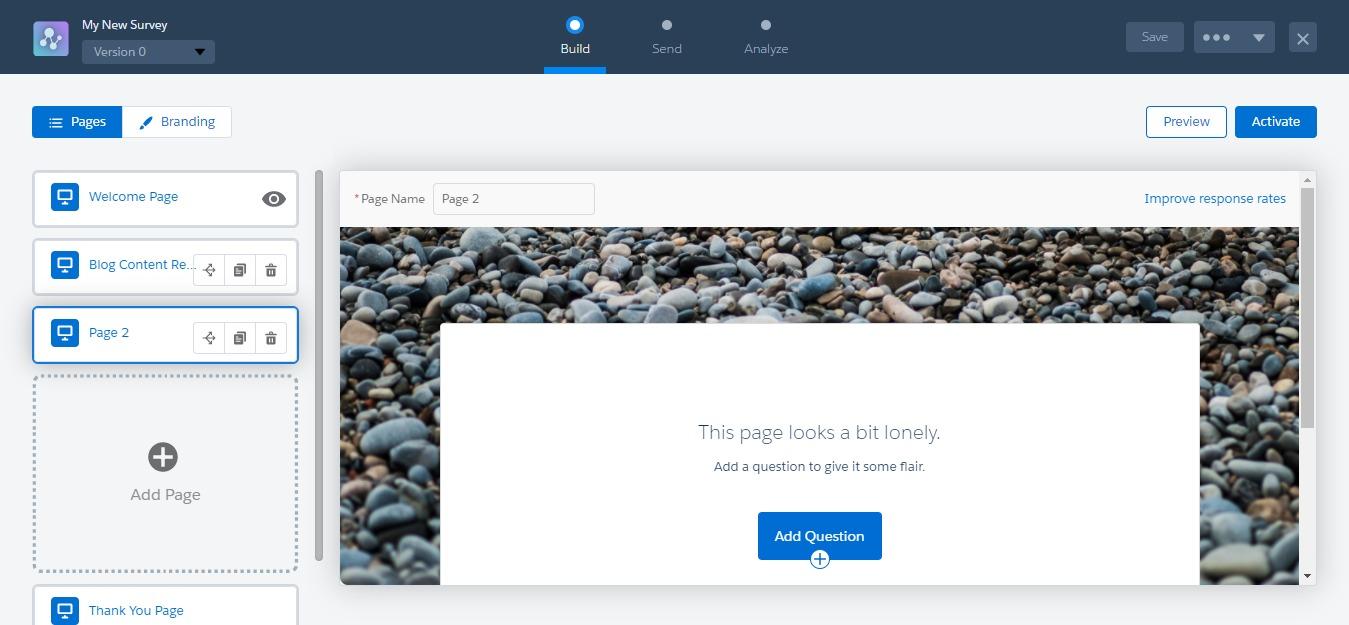
- We can place a name for our Survey. In this we can create our own “Welcome Page” and can also disable it from the eye icon and we can also create thankyou page. We can also add more pages after our welcome page from “Add page”.
- You can also create a “Thank You page”.
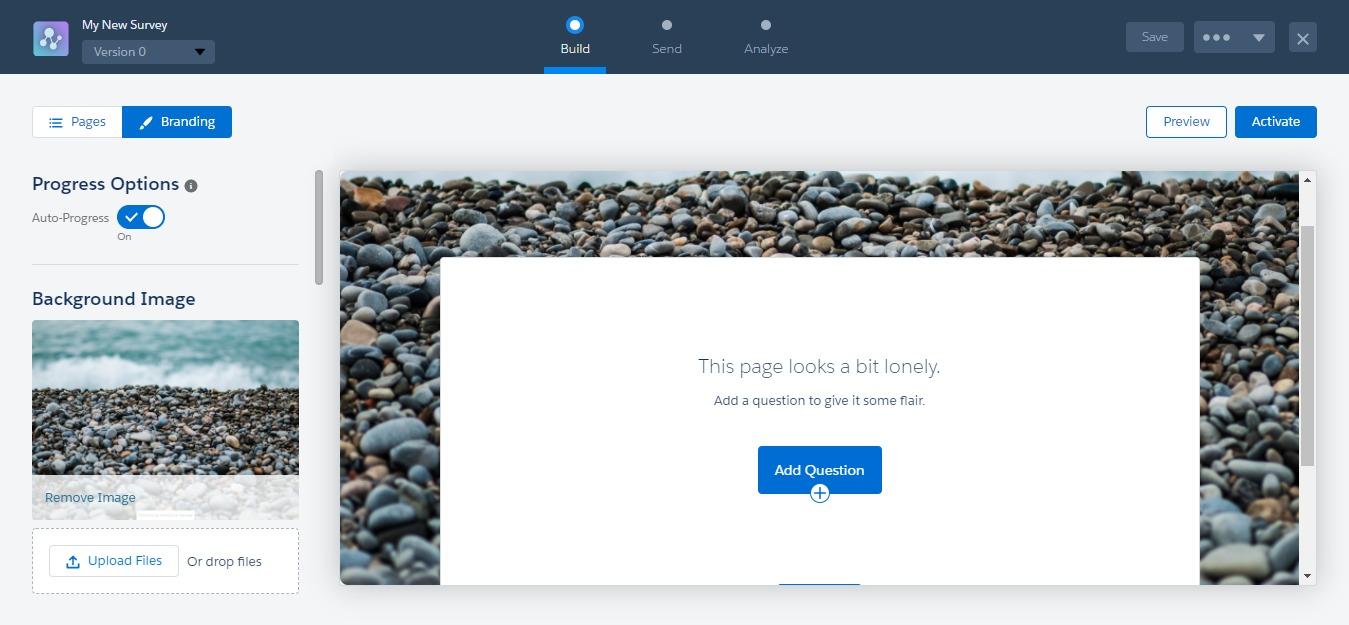
- After creating the pages Now we can go to the Branding Tab In this we can change the Background page.
- We can also enable the Auto progress button which will automatically direct you to the next page when the participant clicks on the last question on the page.
Note: When the Auto-progress toggle is diabled it will show you the next button to go to the next page after the last question. But if it is enabled it will automatically redirect you to the next page. - Basically from the Branding tab you can change the theme side of the page like change background image, Blur the image etc.
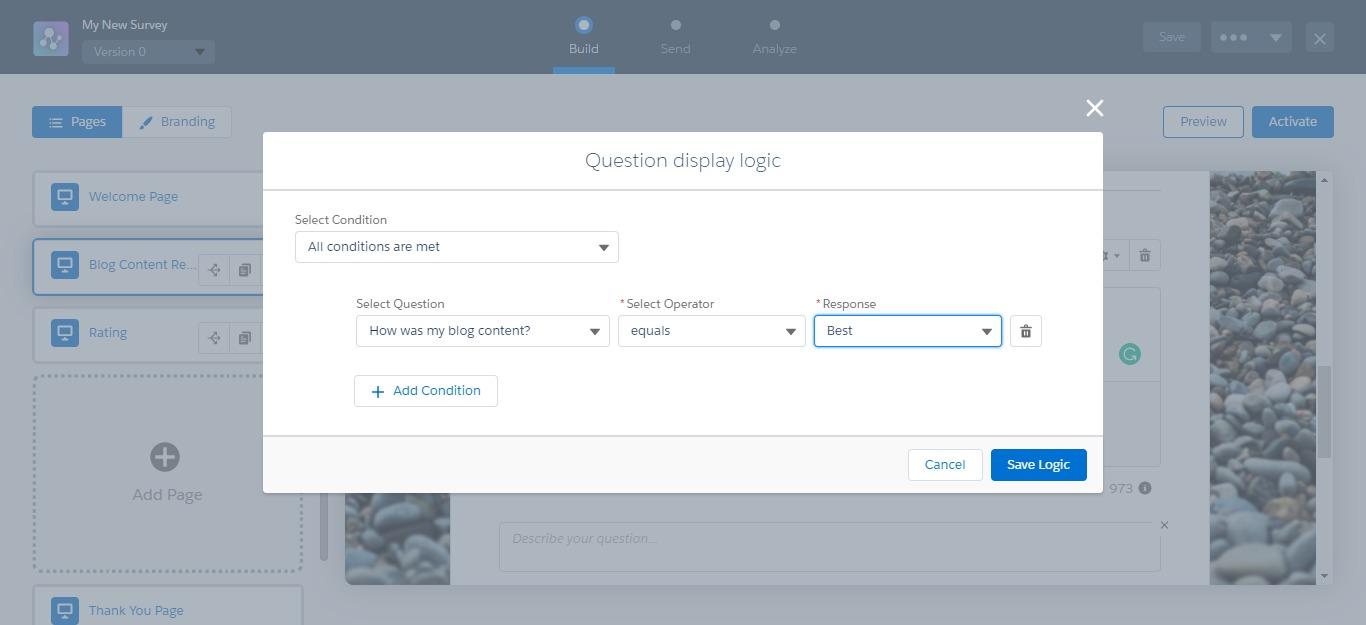
- On the page side we can also add our logics by clicking the Display logic button. Logic will be like which page we want to show first and then next according to our condition.
- After creating the Survey we can save it and then preview it. After Activating the Survey we can not make changes in it then we can only do that by changing the version.
-
By clicking on the Send tab on the page we have two options:
- Get the link: In this we can create a link with an expiry date and can copy that.
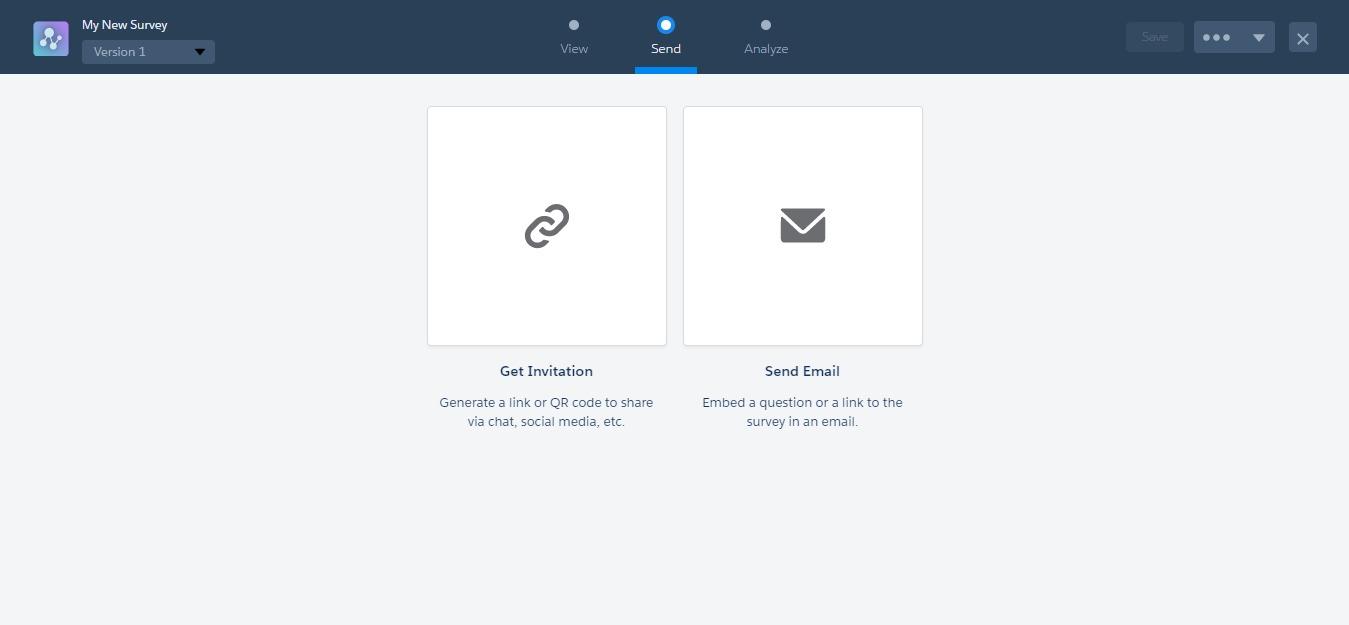
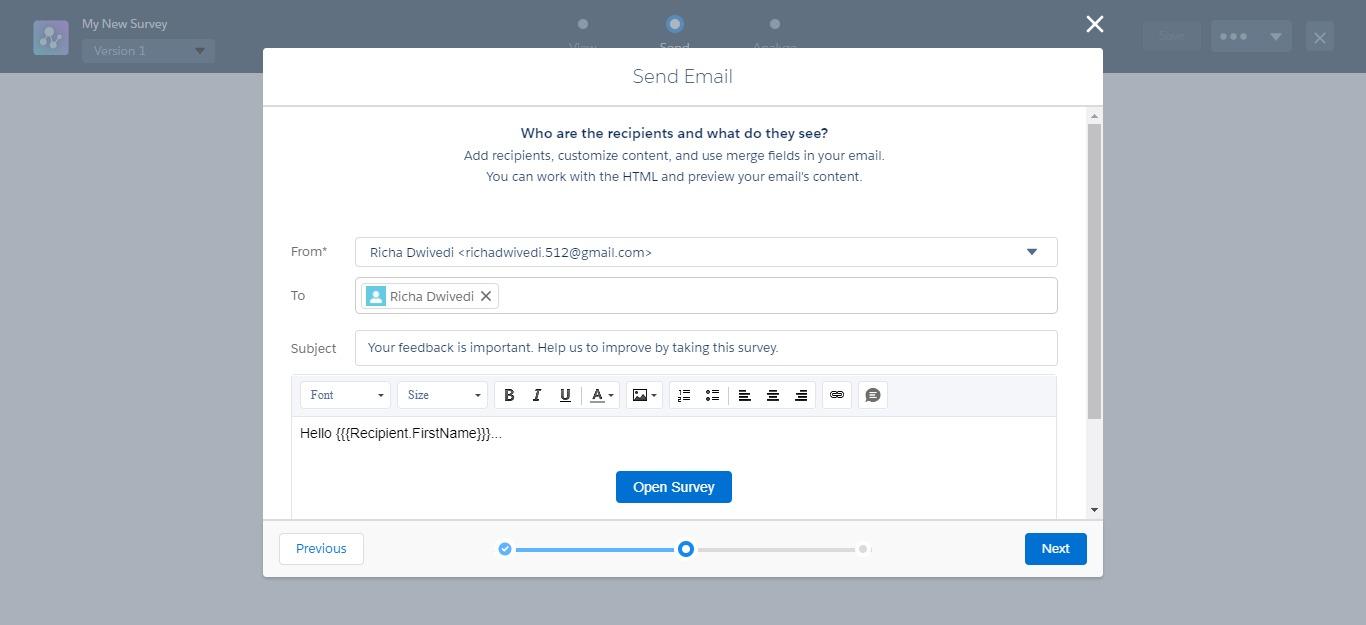
- send the email: By sending the mail we can send the link.
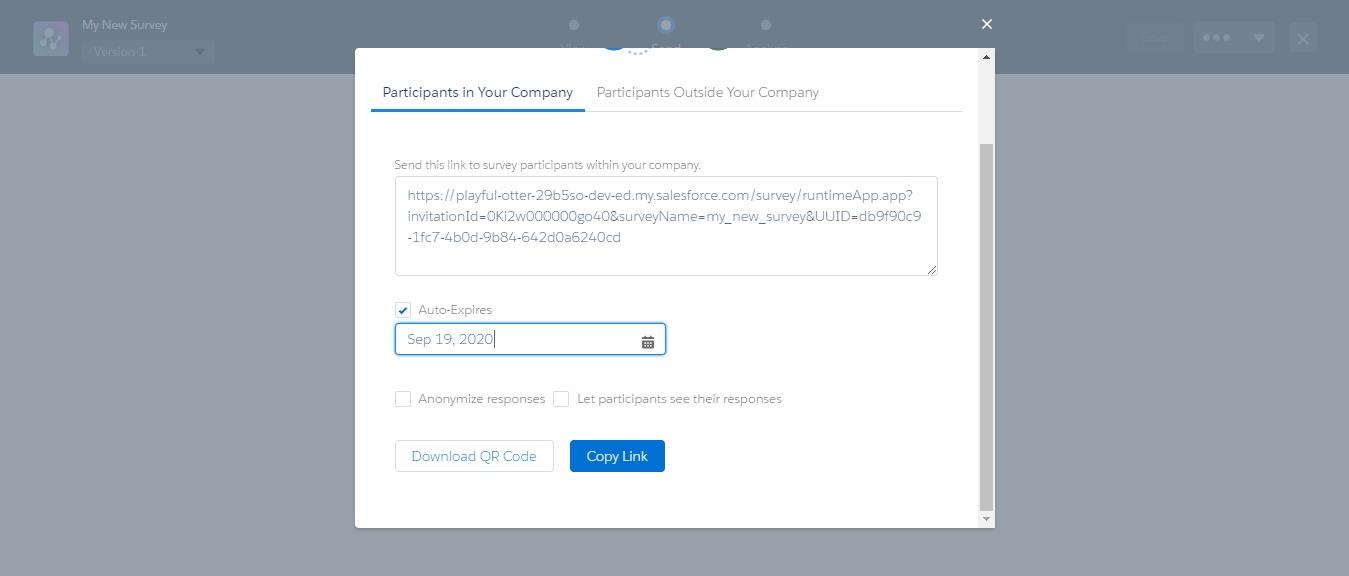
- Get the link: In this we can create a link with an expiry date and can copy that.
- After sending the mail user will get a mail to open the survey and give the feedback.
Now we have got how to send Surveys to your participants. You can Also analyse your Surveys by clicking on the Analysis tab.
For any query on Salesforce Surveys, contact support@astreait.com