Introduction:
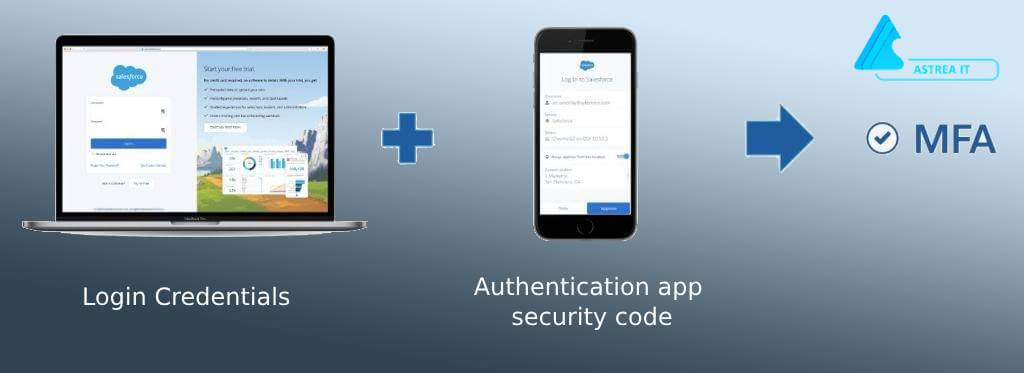
Salesforce, a widely used customer relationship management (CRM) platform, allows users to enhance the security of their accounts by implementing Multi-Factor Authentication (MFA). MFA adds an additional layer of protection by requiring users to provide multiple forms of identification. This document provides step-by-step instructions for setting up MFA in Salesforce to ensure a more secure user experience.

Table of Contents
- Why Use MFA in Salesforce?
- Common MFA Methods in Salesforce
- Setting Up MFA in Salesforce
- Best Practices
- Troubleshooting
- Conclusion
Why Use MFA in Salesforce?
Salesforce contains valuable customer data and sensitive business information. Implementing MFA adds an extra layer of security, reducing the risk of unauthorized access and protecting against potential data breaches. MFA ensures that even if login credentials are compromised, an additional verification step is required for access.
Common MFA Methods in Salesforce
Salesforce supports various MFA methods, including:
- Time-Based One-Time Passcodes (OTP): Users can generate one-time passcodes using authenticator apps.
- SMS Authentication: Users receive verification codes via text message.
- Salesforce Authenticator App: Salesforce offers its own authenticator app for enhanced security.
Setting Up MFA in Salesforce
Enabling MFA in salesforce
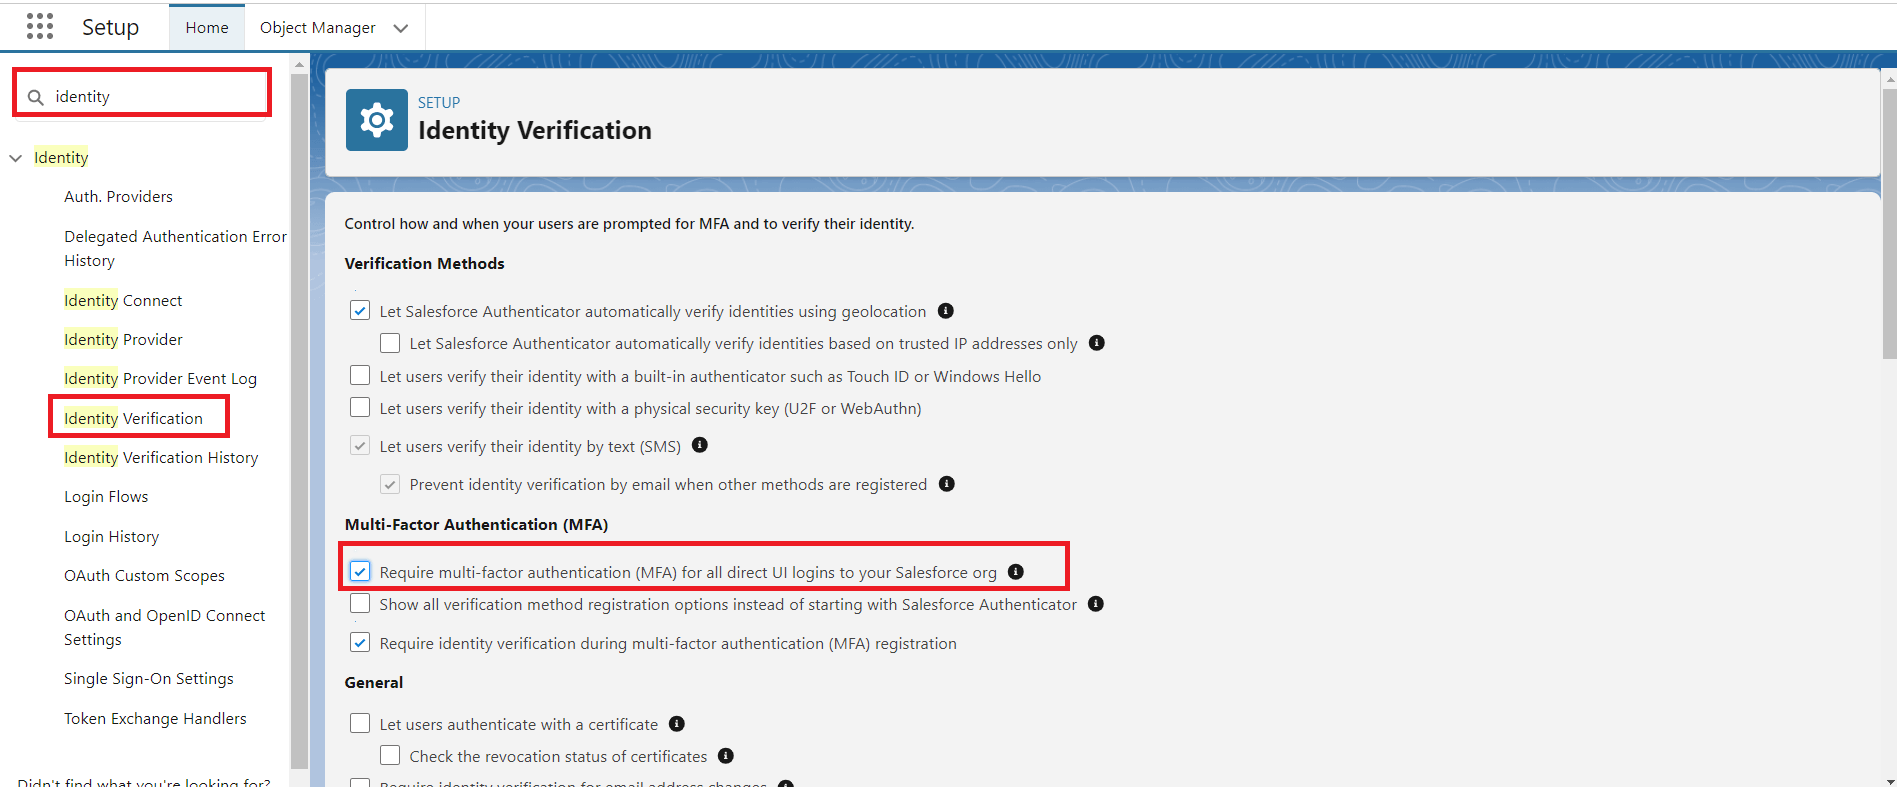
- Navigate to the Setup menu and enter “Identity” in the Quick Find search box. Then, choose the option for “Identity Verification.”
- From there, select the checkbox that says “Require multi-factor authentication for all direct UI logins to your Salesforce org.”
- Log out of your Salesforce account

Figure 1: Enable multi-factor authentication in Salesforce org.
Setting Up Authentication Methods
-
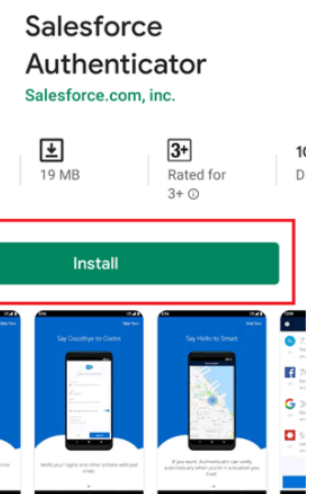
Download and install the “Salesforce Authenticator” application from your mobile device’s app market.

Figure 2: Download and install the “Salesforce Authenticator” application from your mobile
- Open the “Salesforce Authenticator” app and click “Add an Account.”
- On your mobile device, the app displays a two-word phrase authenticator
- Log in to the Salesforce account.
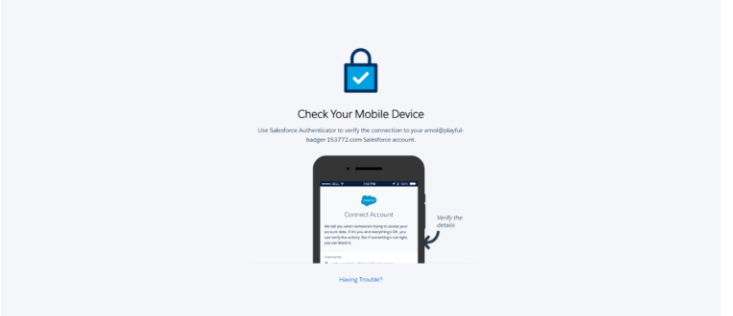
- After clicking on the login button, the “Connect Salesforce Authenticator” page will be opened. Enter the two-word phrase from the Salesforce Authenticator application and then click the “Connect” button.
-
Now, check your Salesforce Authenticator app; it will prompt you to connect with the authenticator. Click on the “Approve” button.

Figure 3: Click on Approve button on salesforce authenticator App on your mobile device.
- Your mobile device now displays your username and service name. Check the details after clicking the “Connect” button on your mobile device.
- If successfully connected, you’ll be automatically redirected to your Salesforce account’s main page. You can log out of this session to test your multi-factor authentication.
Best Practices
- - Encourage Users to Use Authenticator Apps: Authenticator apps like Salesforce Authenticator provide a more secure MFA experience.
- - Educate Users on MFA Importance: Communicate the benefits of MFA to users and encourage compliance for enhanced security.
- - Regularly Review and Update Policies: Periodically review and update MFA policies to align with changing security needs.
Troubleshooting
- - User Access Issues: If users experience difficulty accessing Salesforce after MFA implementation, check their authentication methods and ensure they are following the correct MFA process.
- - Device or App Issues: For problems related to authenticator apps or devices, guide users through troubleshooting steps or provide alternative authentication methods.
Conclusion
By implementing Multi-Factor Authentication in Salesforce and following best practices, organizations can significantly enhance the security of their CRM platform. These measures not only protect sensitive data but also contribute to a more robust overall security posture.
For any queries please reach out to support@astreait.com