An Out of Office message is the automatic response sent to your colleagues, customers, and clients when you are away from work. An out-of-Office message can let your sender understand that you are out of the office or away from work.
Salesforce users can easily setup and enable the Out of Office message in the Salesforce Chatter. With the help of an email account, you can easily set the automatic response to send to anyone who is trying to contact you.
Salesforce Out of Office is only available in Lightning Experience. Setting up an Out of Office message is an effortless task for everyone.
You can schedule and customize an out-of-office message and can place it next to your name in Chatter. Also, you can enable or disable it in Setup, under the Chatter Settings. You can conveniently schedule the message and can decide what it says.
Benefits of setting up the Out of Office -
- An Out of Office message can inform the sender that you are away from work.
- With the help of your Out of Office message details, other people can easily understand how many days you will be away from work.
- The sender can understand that when he can expect to receive a response from you.
- It can save the waiting time of a sender.
From the above introduction, you might have got some idea now about the Out of Office message. Let’s learn now how you can set it up yourself in your Salesforce Org.
Steps to setup Out of Office message in Salesforce Chatter -
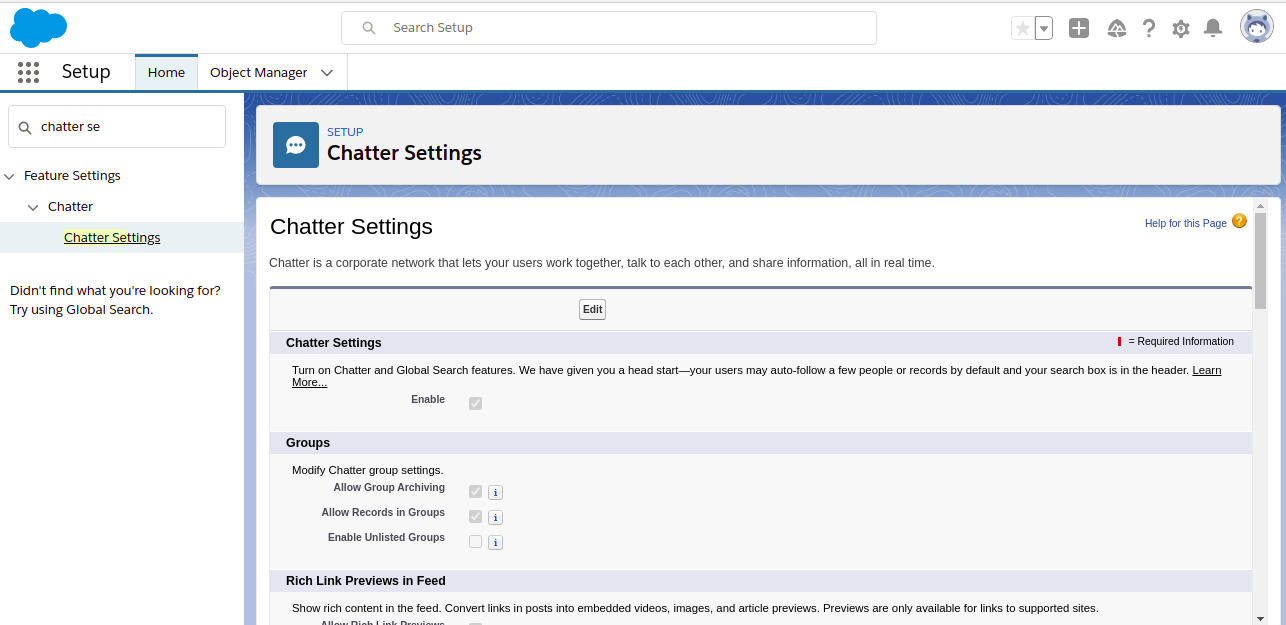
Step 1: From Setup, find Chatter Settings in Quick Find Box.
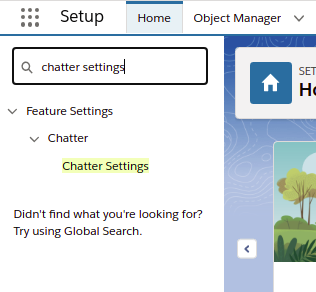
Step 2: From Setup, find Chatter Settings in Quick Find Box.
Step 3: Now, scroll down to the “Out of Office” section and select the checkbox next to the “Users can set Out of Office messages”.
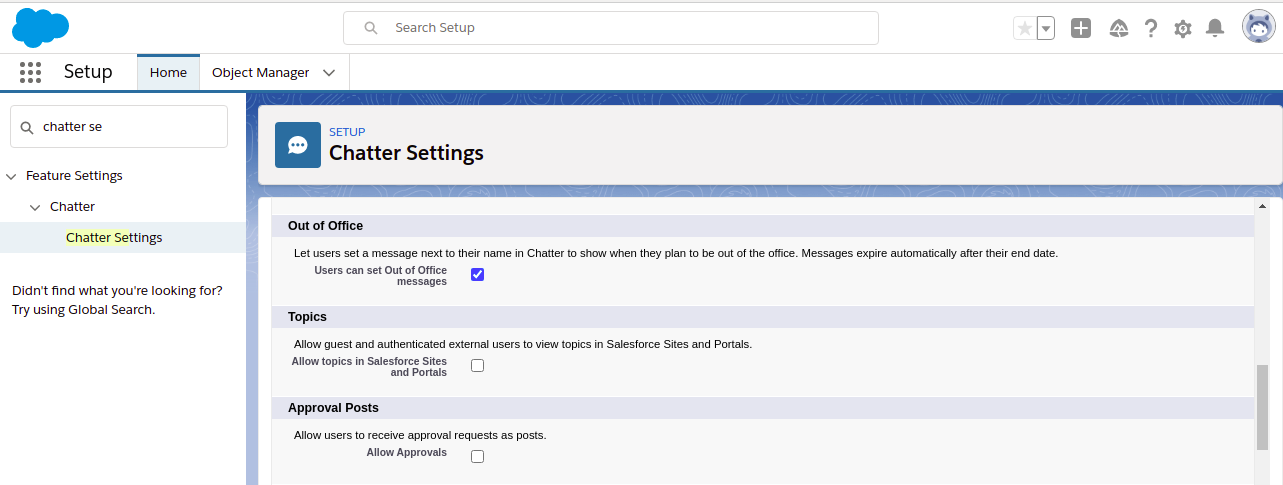
Step 4: Click Save.
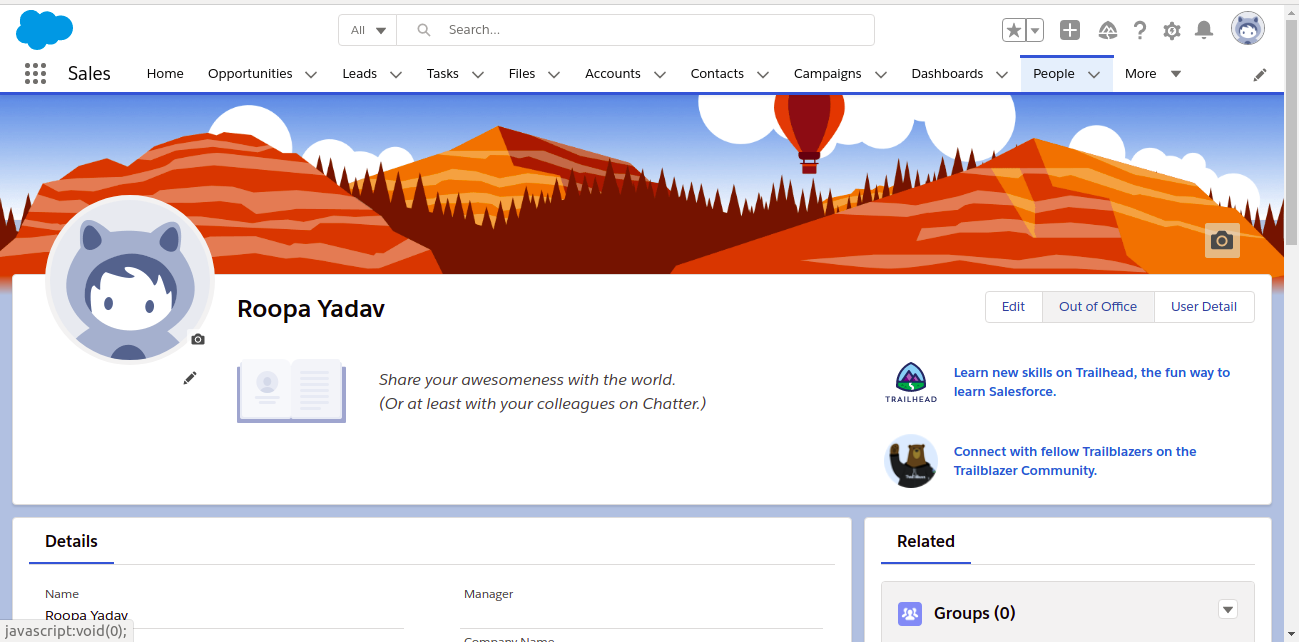
Step 5: Now, click on your name from your profile option.
Step 6: Click on the Out of Office option.
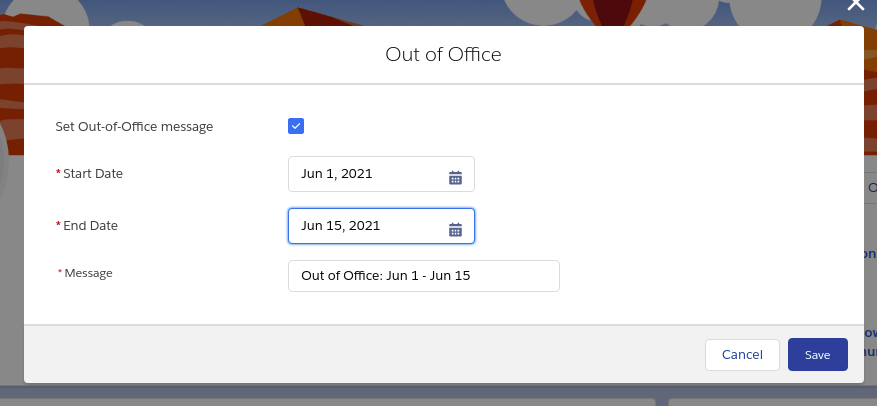
Step 7: Check on the checkbox next to the “Set Out-of-Office message”. Select the Start Date for the time you are out of the office.
And select the End Date as the message will expire after the End date. You can customize the Message or you can leave it as it is. At last, click Save.
Step 8: Now the Out of Office message is saved and it appears next to your name.
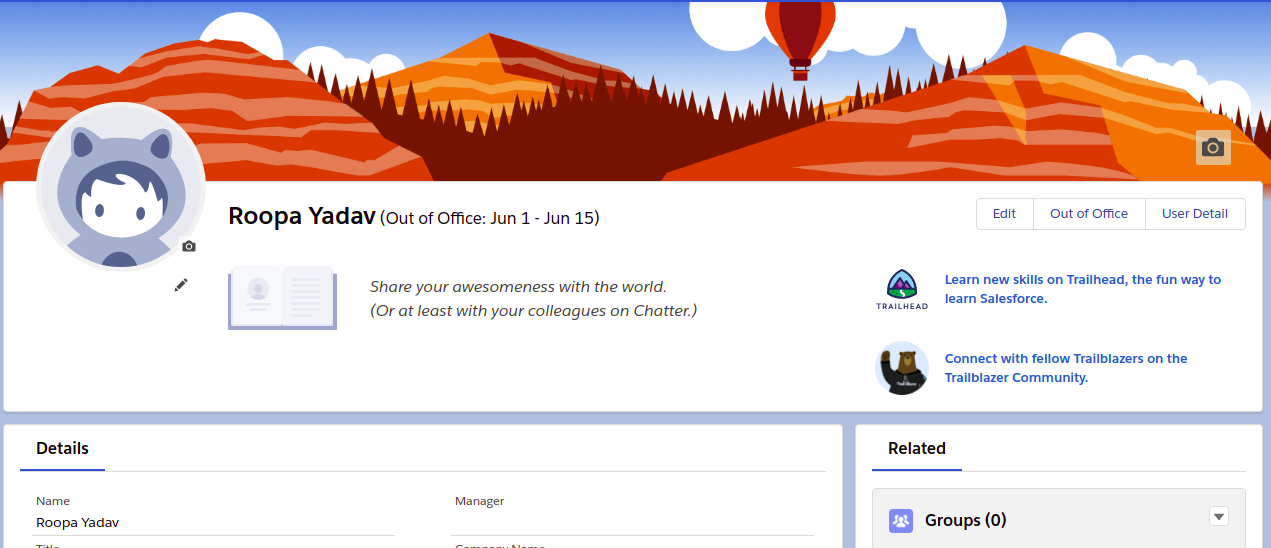
After the setup, the Out of Office messages will be visible everywhere your name appears in Chatter.
With the above-mentioned details, you can easily implement the Out of Office message in Salesforce Chatter. Adeus!!
For any query, contact support@astreait.com