Every organization, whether it is small or large, has a website. With the help of marketing strategies, organizations are trying to attract visitors towards their website.
The website form can even convert those visitors into customers. A well-designed web form can capture crucial information about visitors including their interest in your products and services. This technique is known as Web-to-Lead. Using Web-to-lead information submitted on a Website is used to create a lead in Salesforce.
Web-to-Lead is one of the lead management solutions provided by Salesforce. It grants you to create Web-to-Lead forms to capture the information of your website visitors. The information gets automatically stored in the Salesforce as a new lead record. After that, it can be passed on to the appropriate sales reps.

With the help of Salesforce Web-to-Lead, you can automate the process of lead creation in Salesforce. Also, you can send them automated email follow-ups to start their customer journey with your organization. Salesforce web-to-lead forms automate the marketing and sales business processes.
Steps to create Web-to-Lead Forms
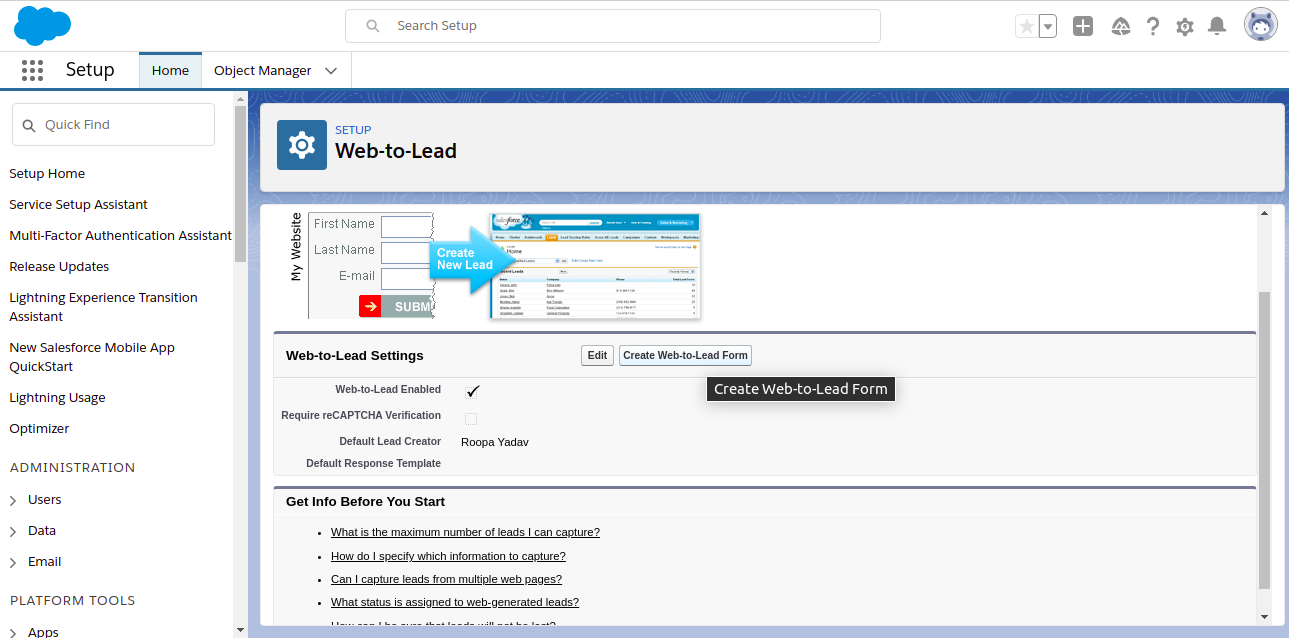
Step 1: From Salesforce Setup, search Web-to-Lead in the search box and select Web-to-Lead.
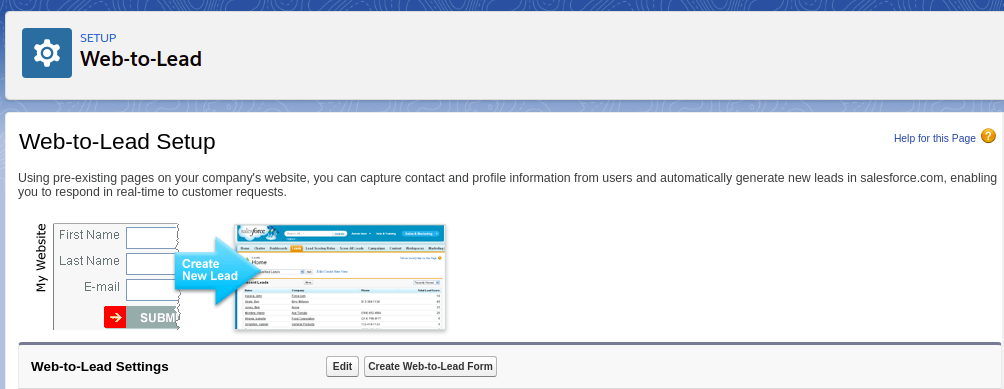
Step 2: Select the Web-to-Lead Enabled option.
Step 3: Now click on the Create Web-to-Lead Form button.
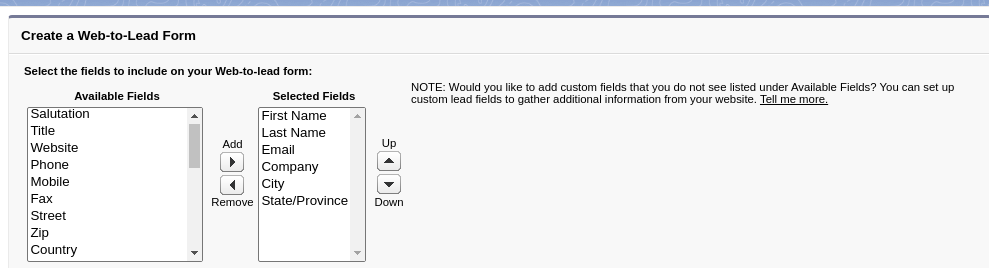
Step 4: Select the fields which you want to include in your Web-to-Lead forms.
Step 5: Add the Return URL which permits the user to be redirected to a particular page after the form submission.
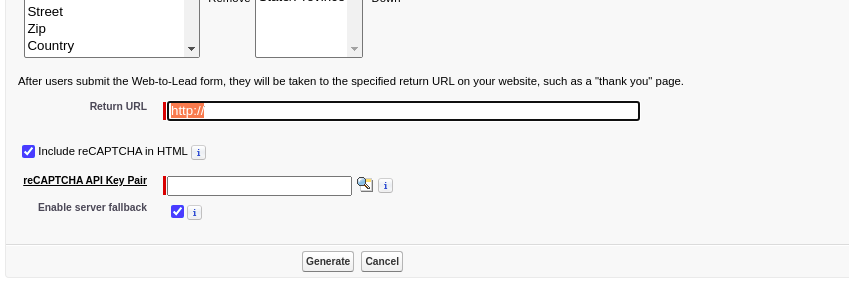
Step 6: At last, click Generate which will generate the HTML code that you can implement in your website.
Add Google reCAPTCHA in your Forms
At times the user may receive the spam records through the Web-to-Lead forms. You can include the Google reCAPTCHA in your form to avoid such spam records. Here are the steps which you can follow to add the Google reCAPTCHA in your form.
Step 1: From Web-to-Lead setup page, select the Include reCAPTCHA in HTML.
Step 2: Now next to the reCAPTCHA API key pair, click on the search icon option.
Step 3: Select the API key pair Nickname.
If you have not created any API key pair nickname, select new by navigating to Navigate to Google reCAPTCHA ( https://www.google.com/recaptcha/admin/create ) and click save.
Step 4: Select the required API key pair.
Step 5: Select the Enable server fallback.
Step 6: Click on Generate.
Benefits of Salesforce Web-to-Lead
- Build forms without writing any code.
- Automate Marketing and sales business processes.
- Lead management.
- Automatically assign the lead to the required team/user.
Now you are all set to design the Salesforce Web-to-Lead form for your website. Happy Automation!!
For any query on Salesforce Web-to-Lead forms, contact support@astreait.com