A leading US based NonProfit client had the following requirements. They wanted a public facing form to allow volunteers to show the form. The responses provided by the user need to be stored in Salesforce. The form had to be branded as per the organization's website look and feel.
Astrea proposed to use Jotforms as an easy to use interface for entering the volunteer information and storing the information in Salesforce.
The form had the following information:
- First Name and Last Name
- Phone number
- eMail address
- Address
- Availability on weekend
- Availability on weekdays
- Number of hours per week
- Area of interest (Social Media, Teaching, Donation Management, website development, Event coordination)
- Total experience in years in Education sector
The client had a custom object called Volunteer where this information had to be stored. The requirement is that the Volunteer form should create new records in the Volunteer object. A simple solution to this requirement can be fulfilled using Jotform, a popular online platform used to build survey/registration forms. And with Jotform’s simple point and click Salesforce integration tool, the form can be integrated with the organizations’ Salesforce account in just a few clicks. So let’s review how to get started with Jotform for this.
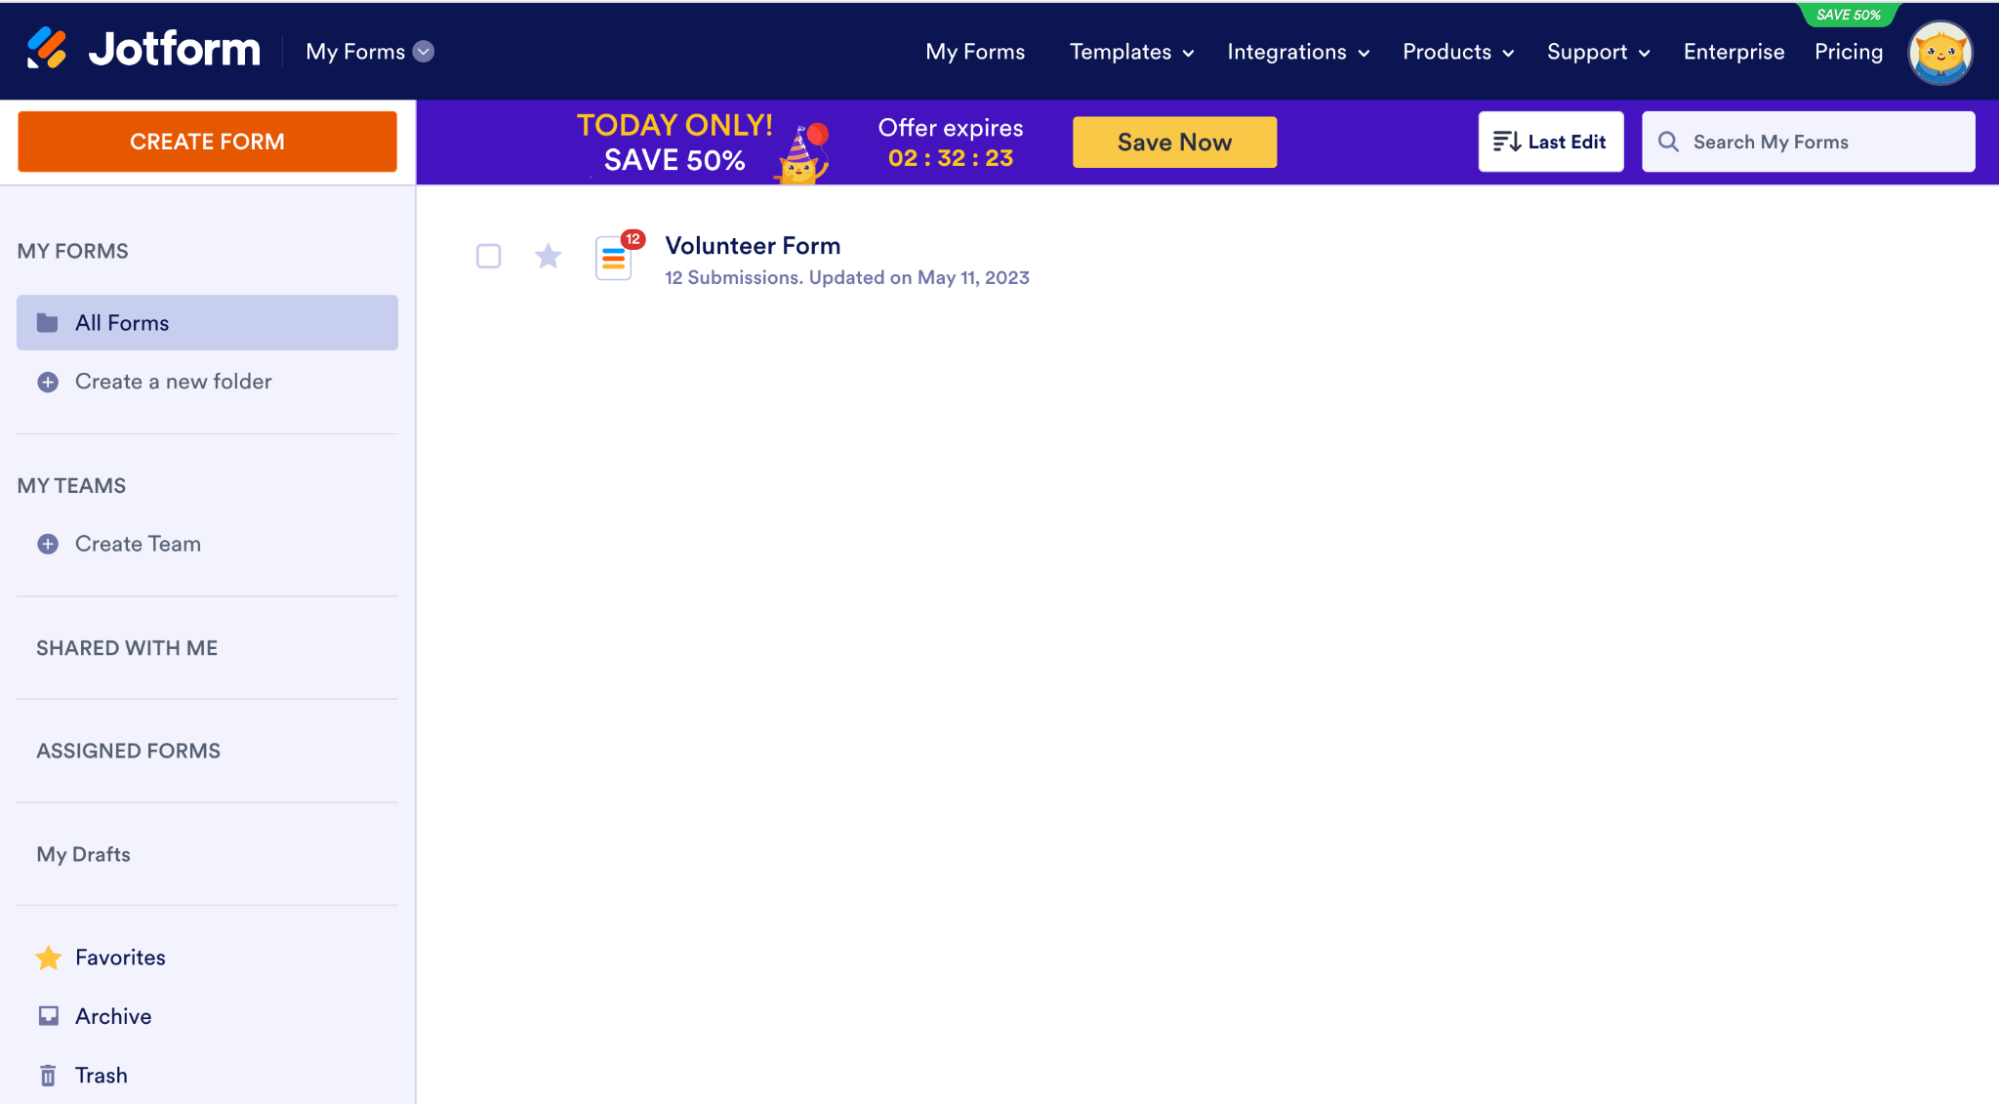
First off, create a free Jotform account from https://www.jotform.com/ This will enable us to create custom forms for different use cases.
From the home page, click on “Create Form” to create a new form
While volunteer forms help capture engagement data, nonprofits also require efficient tools to manage donations and financial contributions. Salesforce Elevate in NPSP provides seamless capabilities for processing online donations and integrating them directly into Salesforce, ensuring better tracking and reporting.
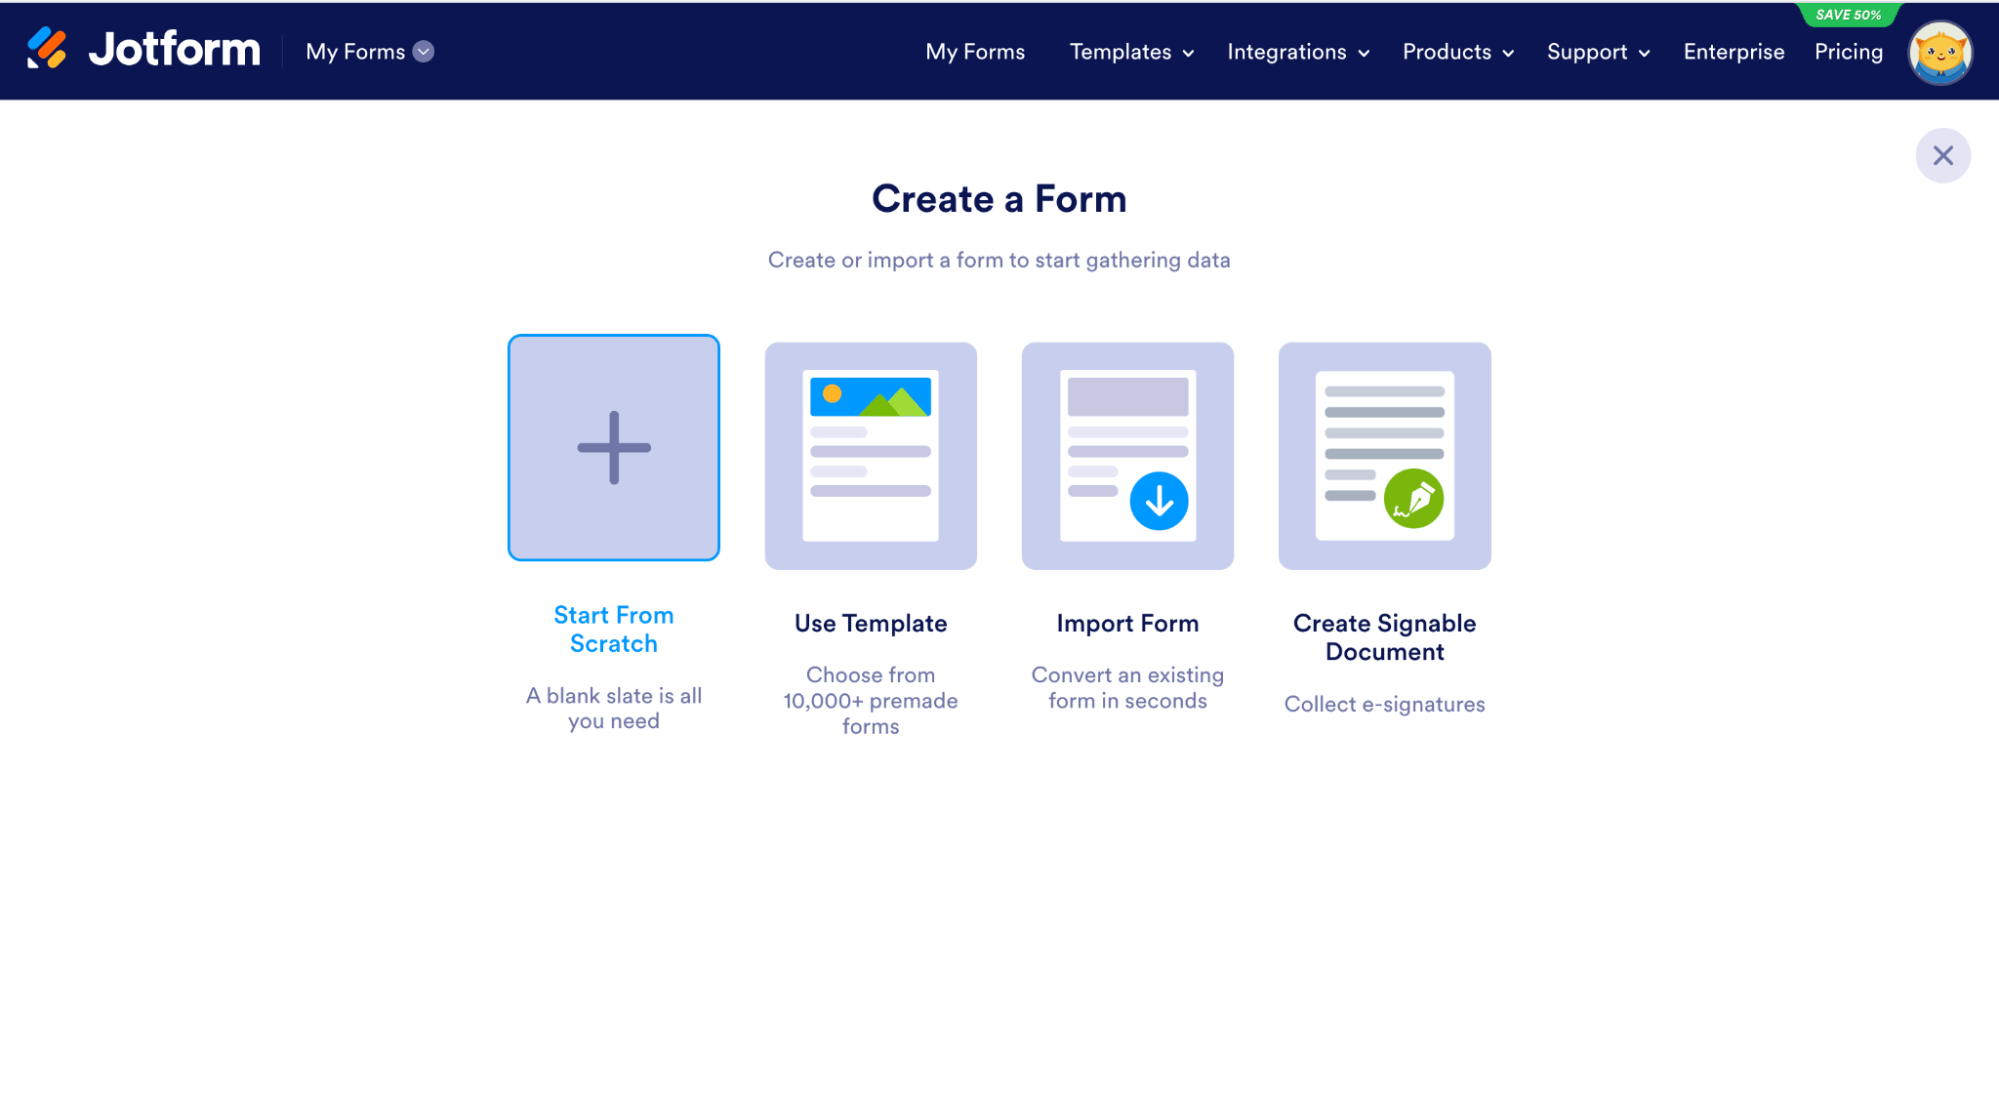
Since our use case is unique and requires personalization, it would be best to select “Start From Scratch”
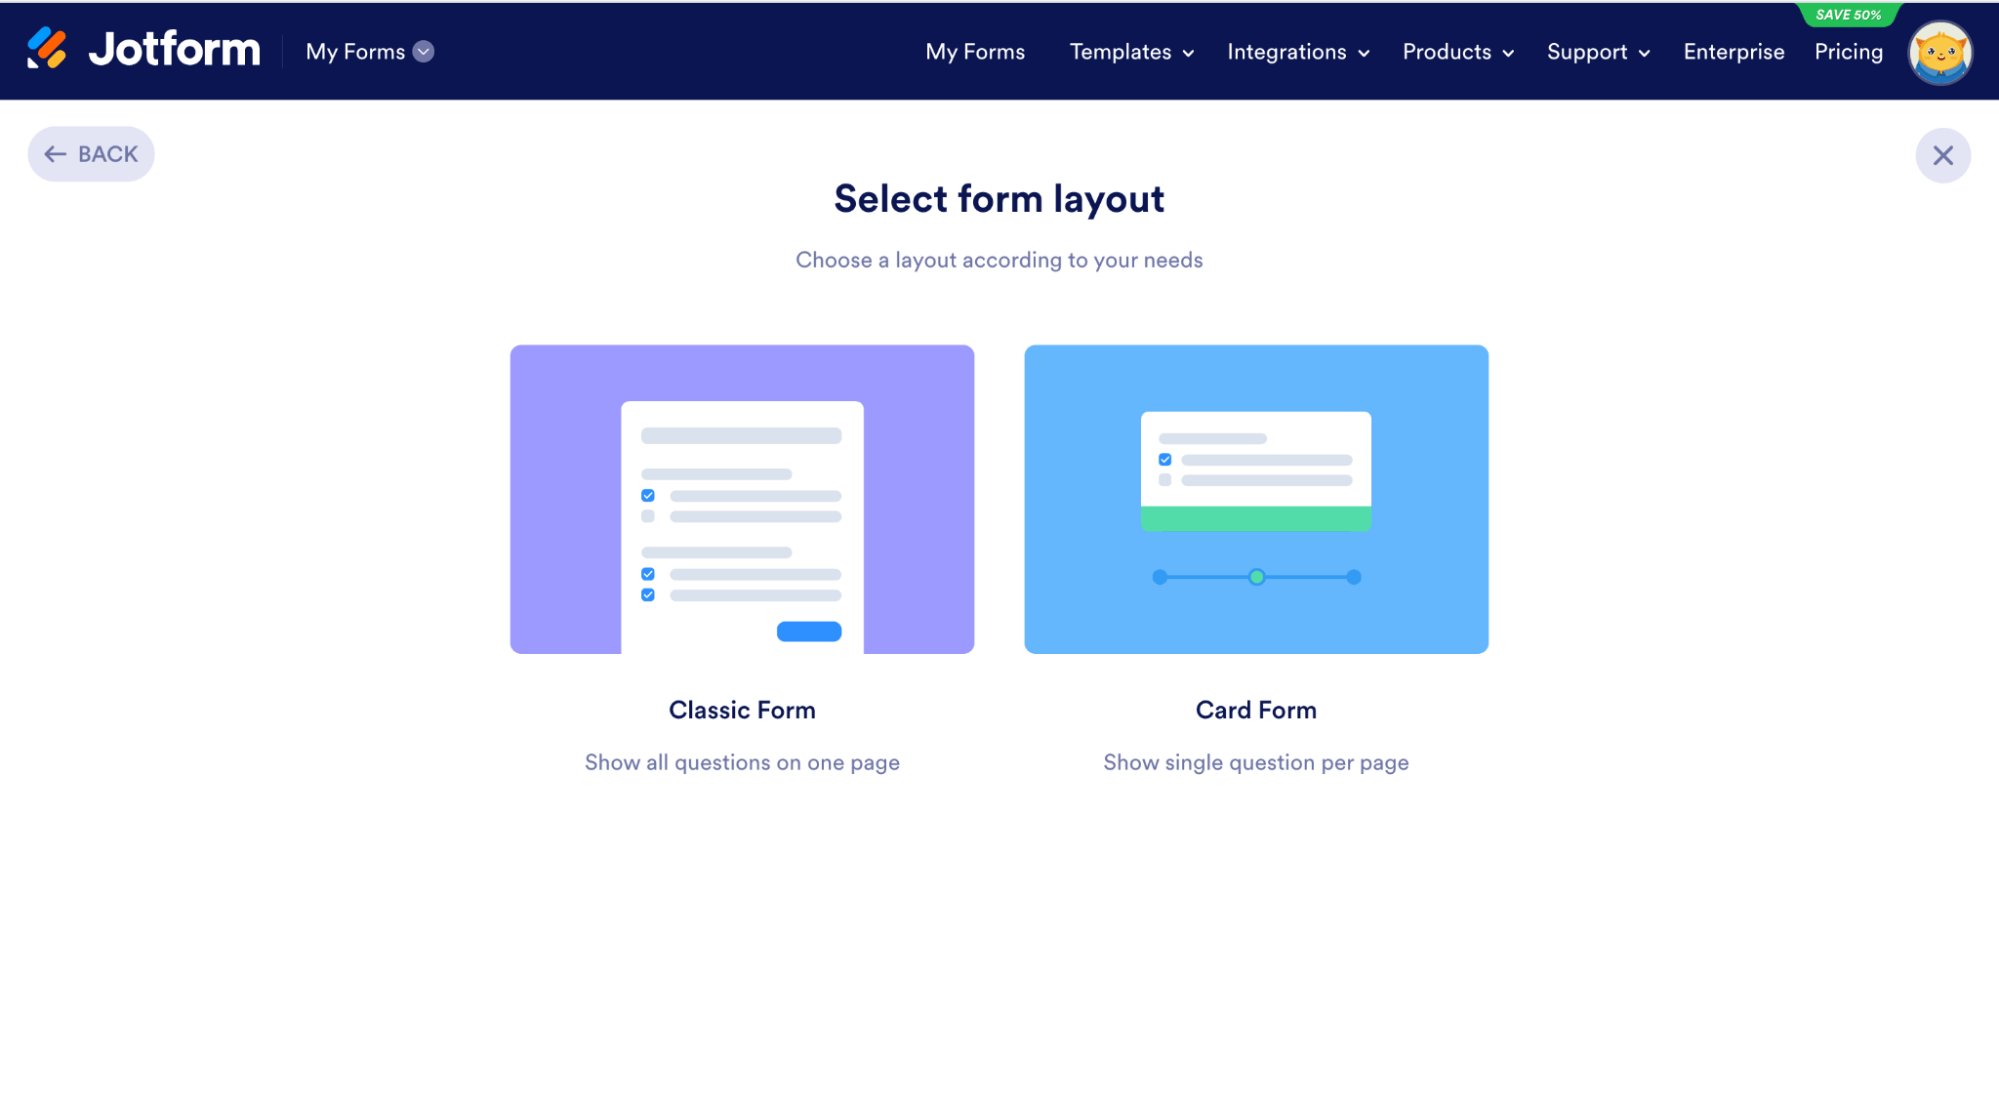
For the next choice, between classic and card forms, it is recommended to choose classic (single page form) for forms with less than 10 fields and card form to paginate the fields into sections. So, we’ll be selecting classic form
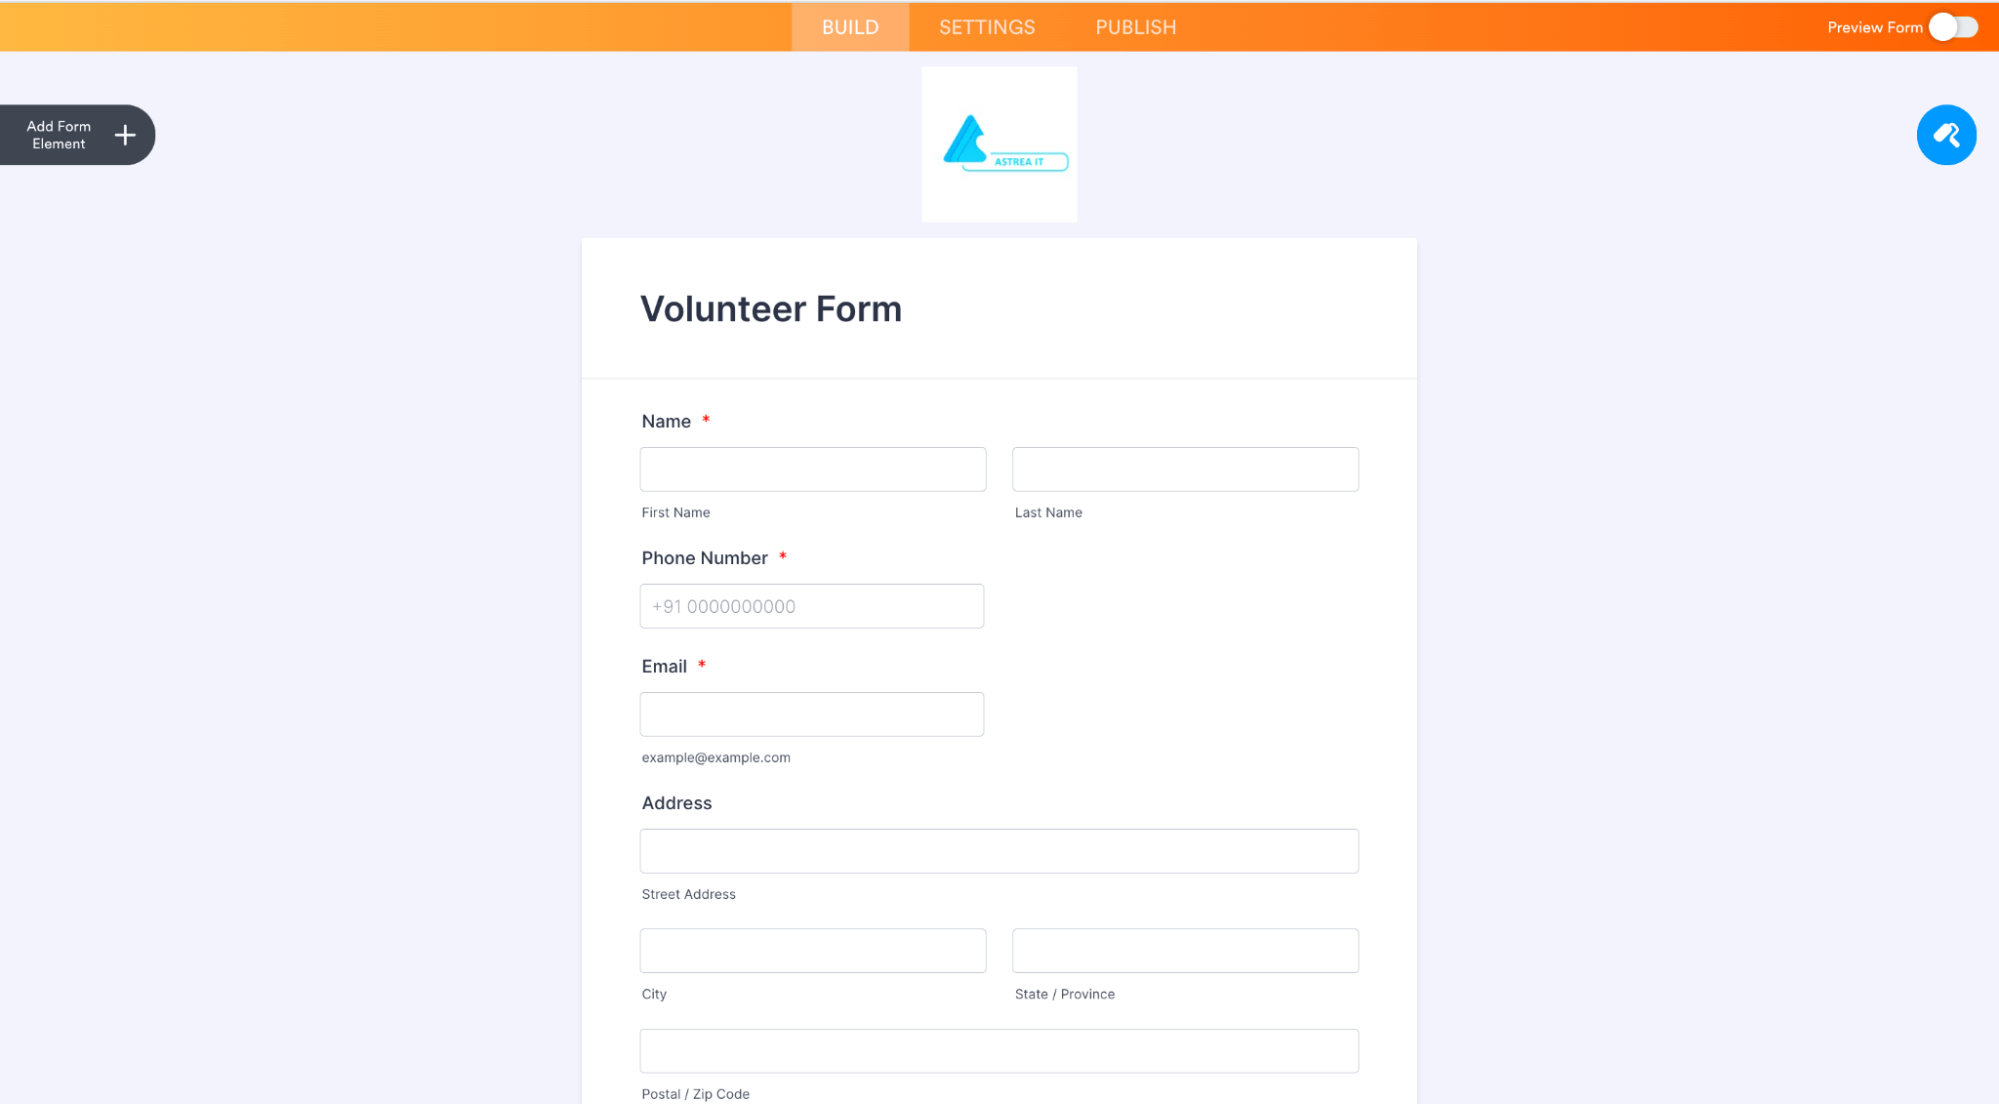
From the form page, we start adding the fields and configure their individual settings using the gear head icon given beside them
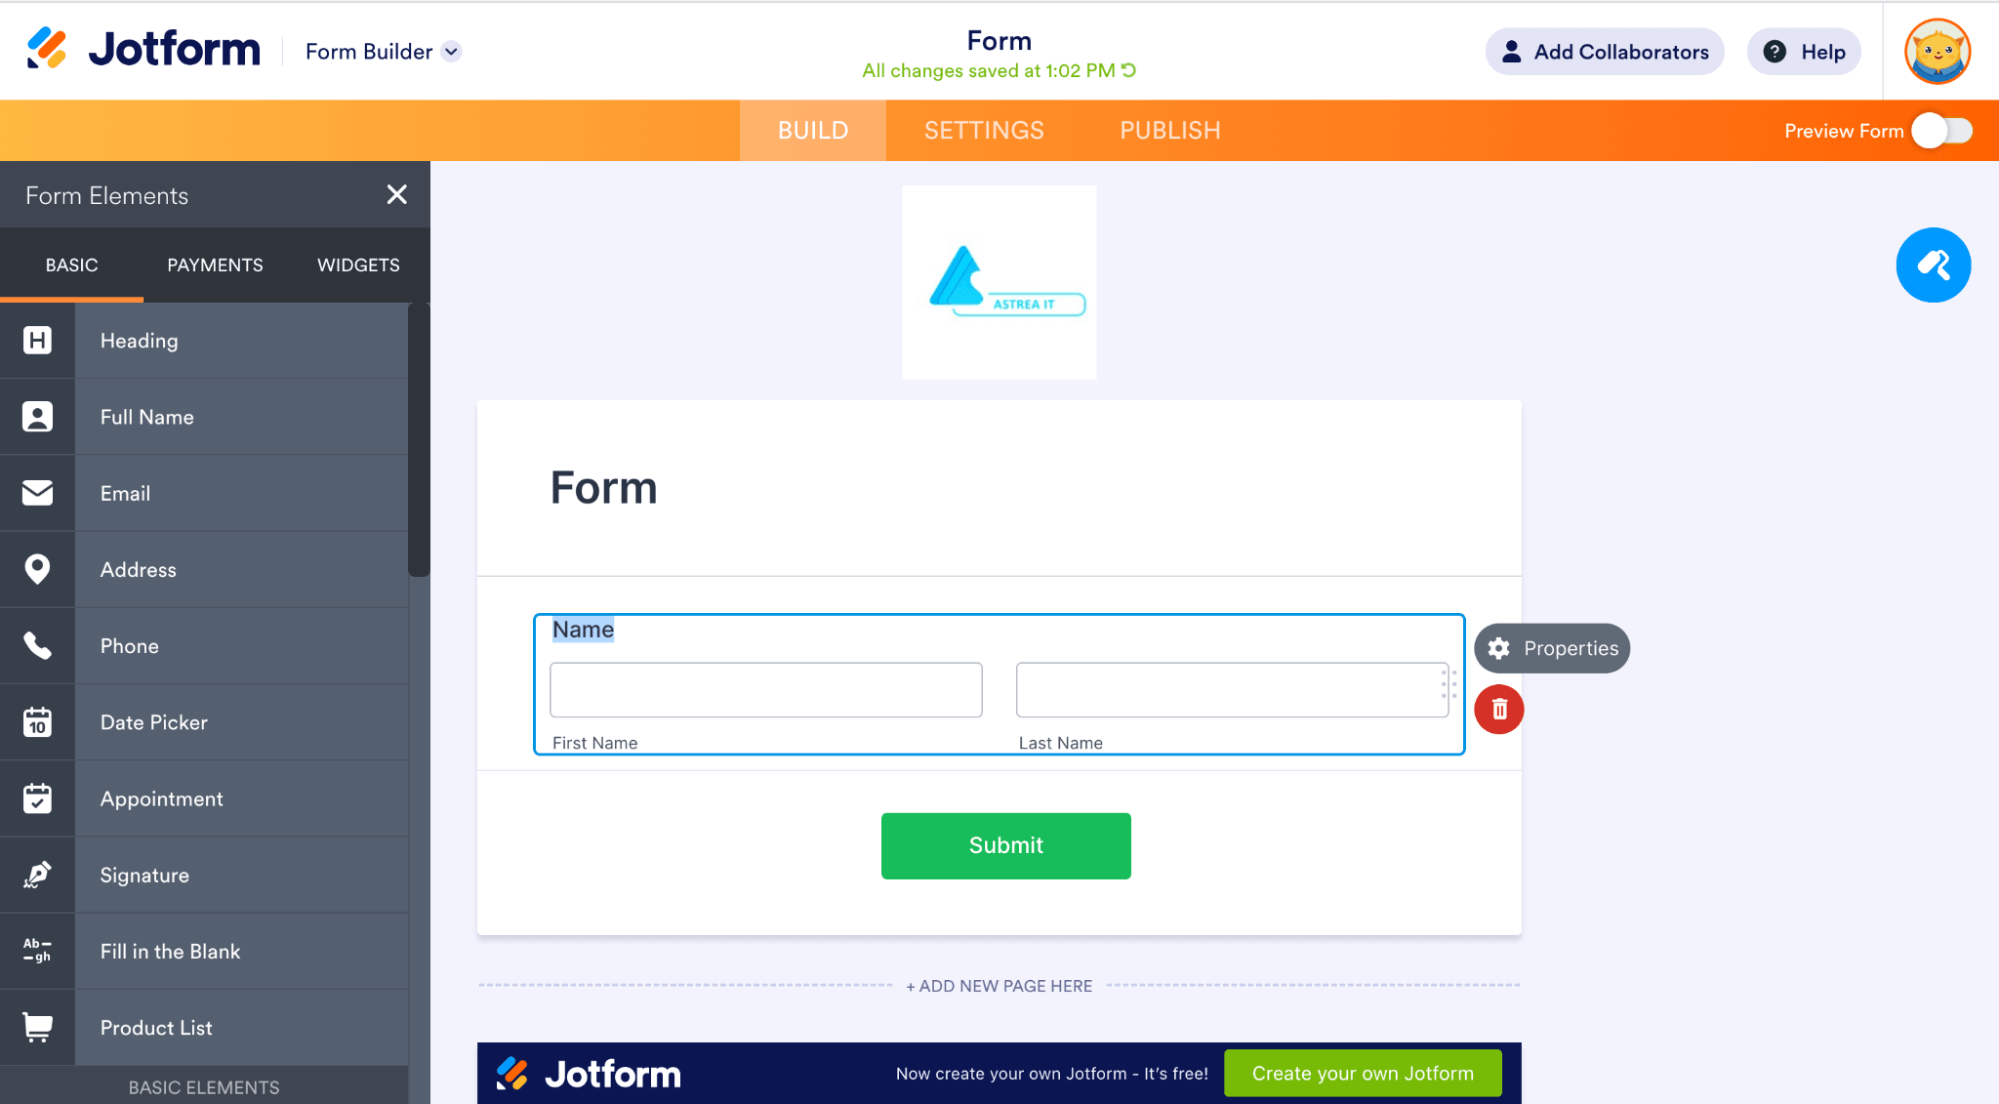
Once we have our form ready, it should look something like this
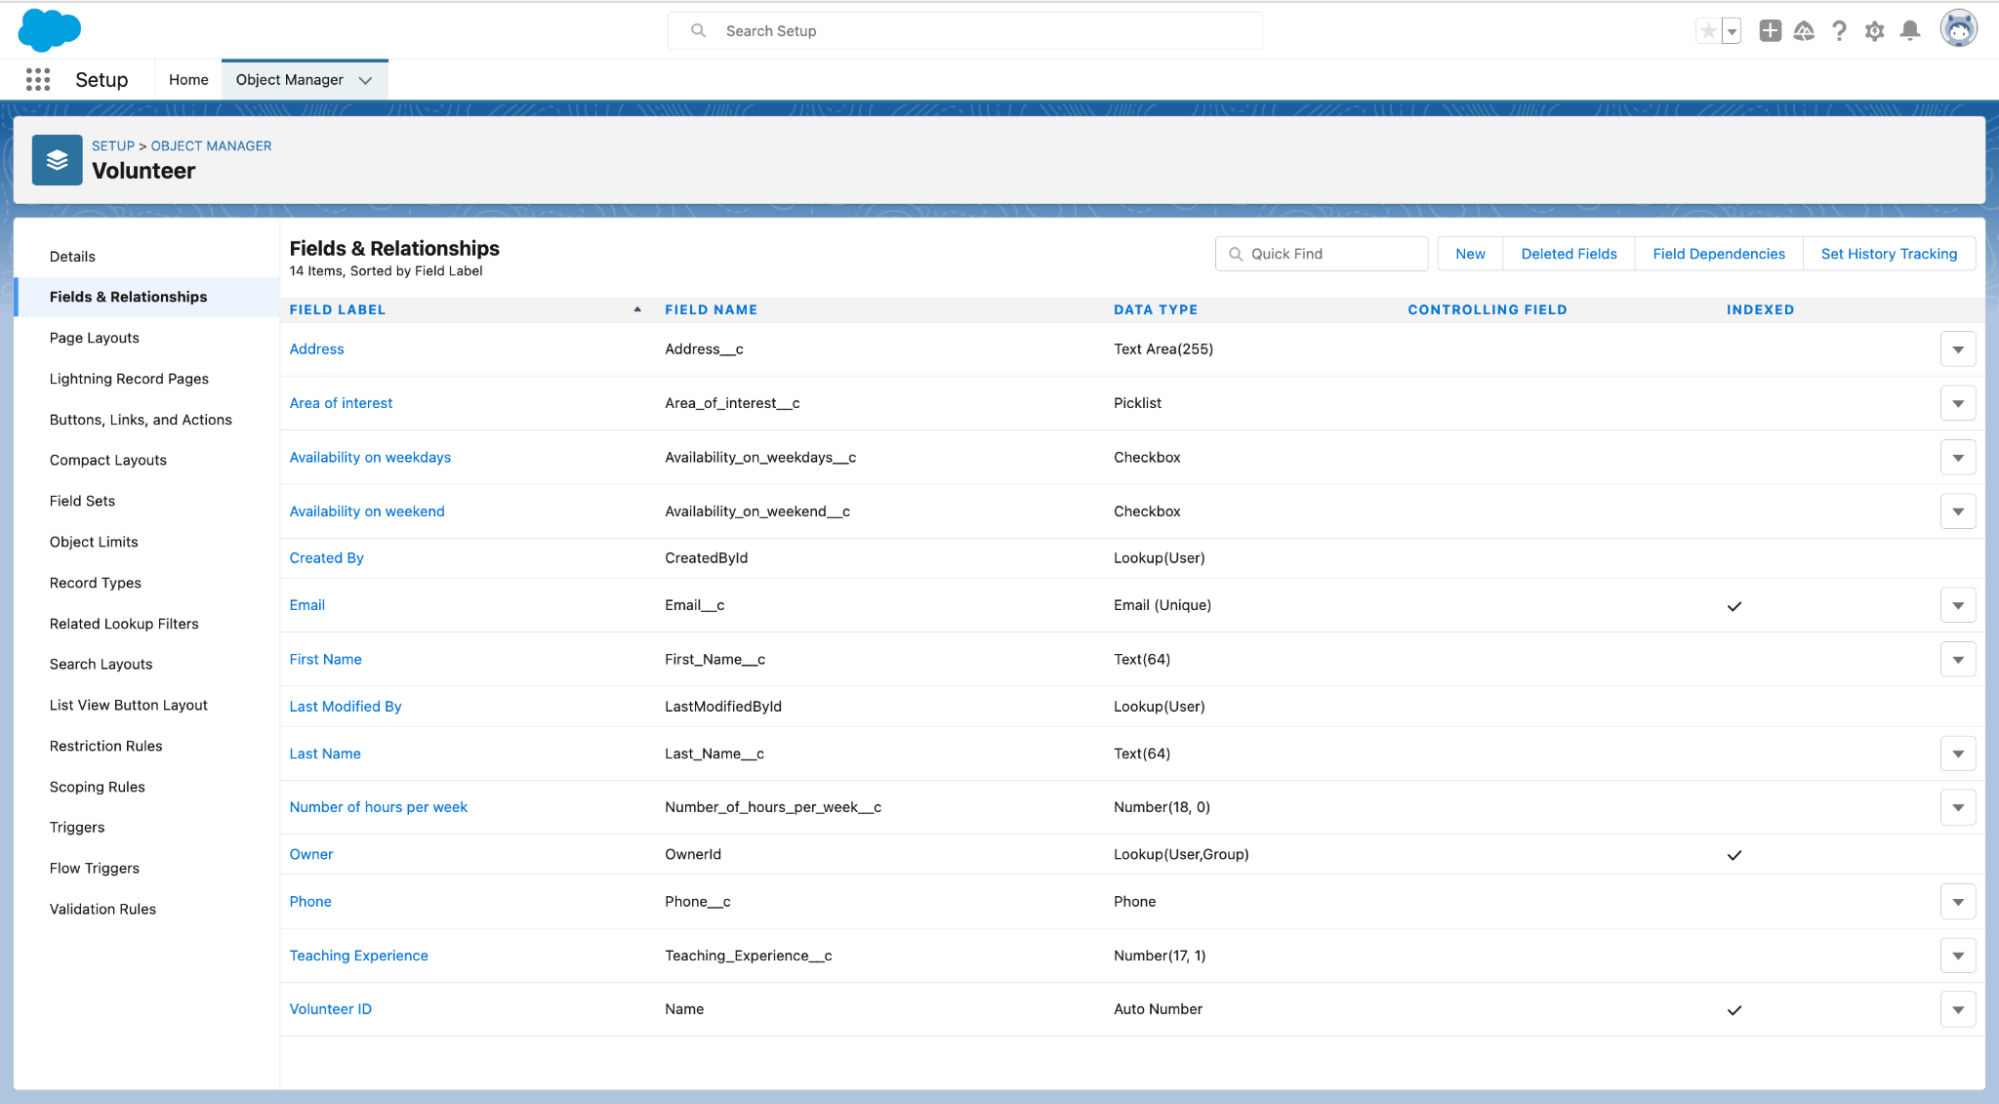
Next up, we need to create a custom object in our Salesforce org to match the requirement. The custom object once created with all the fields should look like this
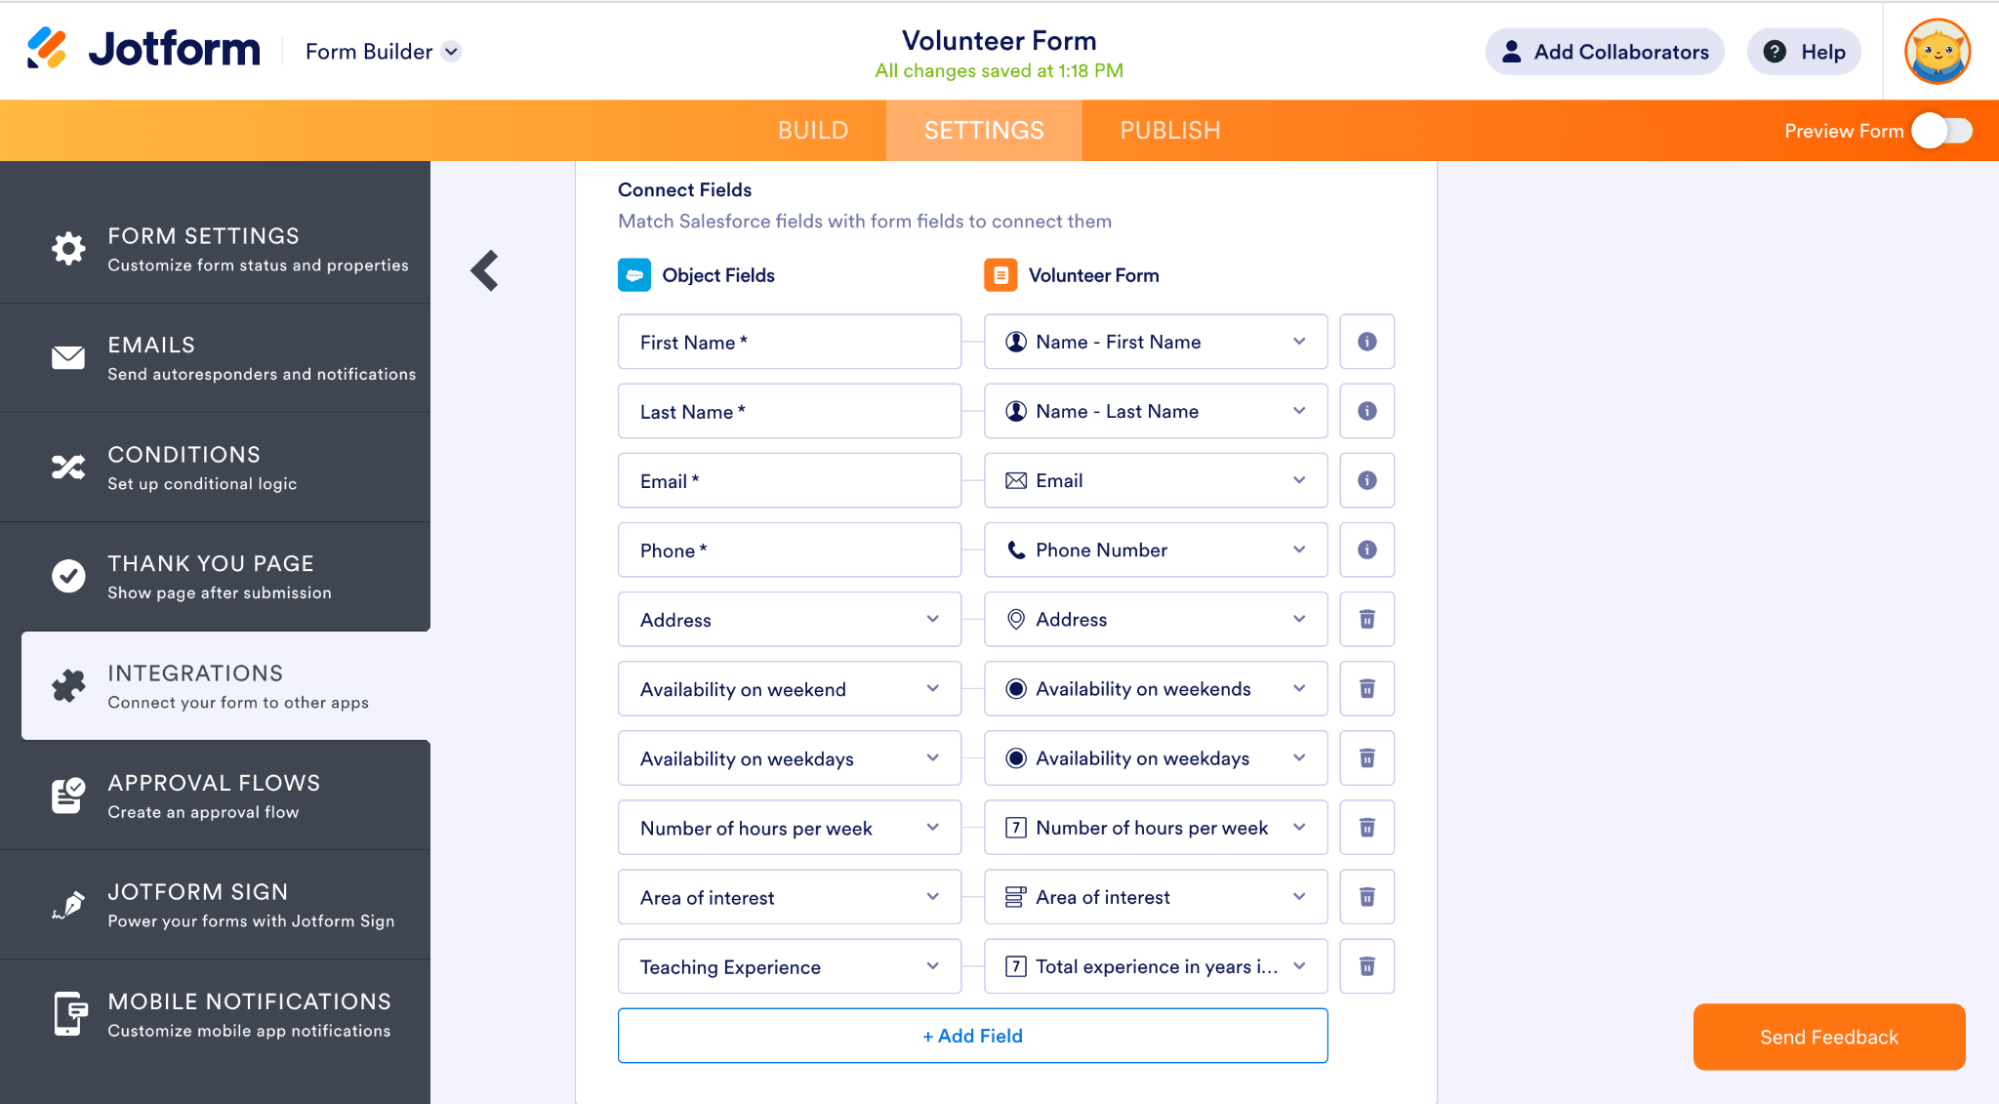
Next, we integrate our jotform with this custom object. For that, we head on over to the settings tab on the form that we created and click on integrations
In many cases, organizations transitioning to Salesforce already have existing data stored in legacy systems such as Raiser’s Edge. Migrating this data into Salesforce ensures continuity and enables better analytics and reporting.
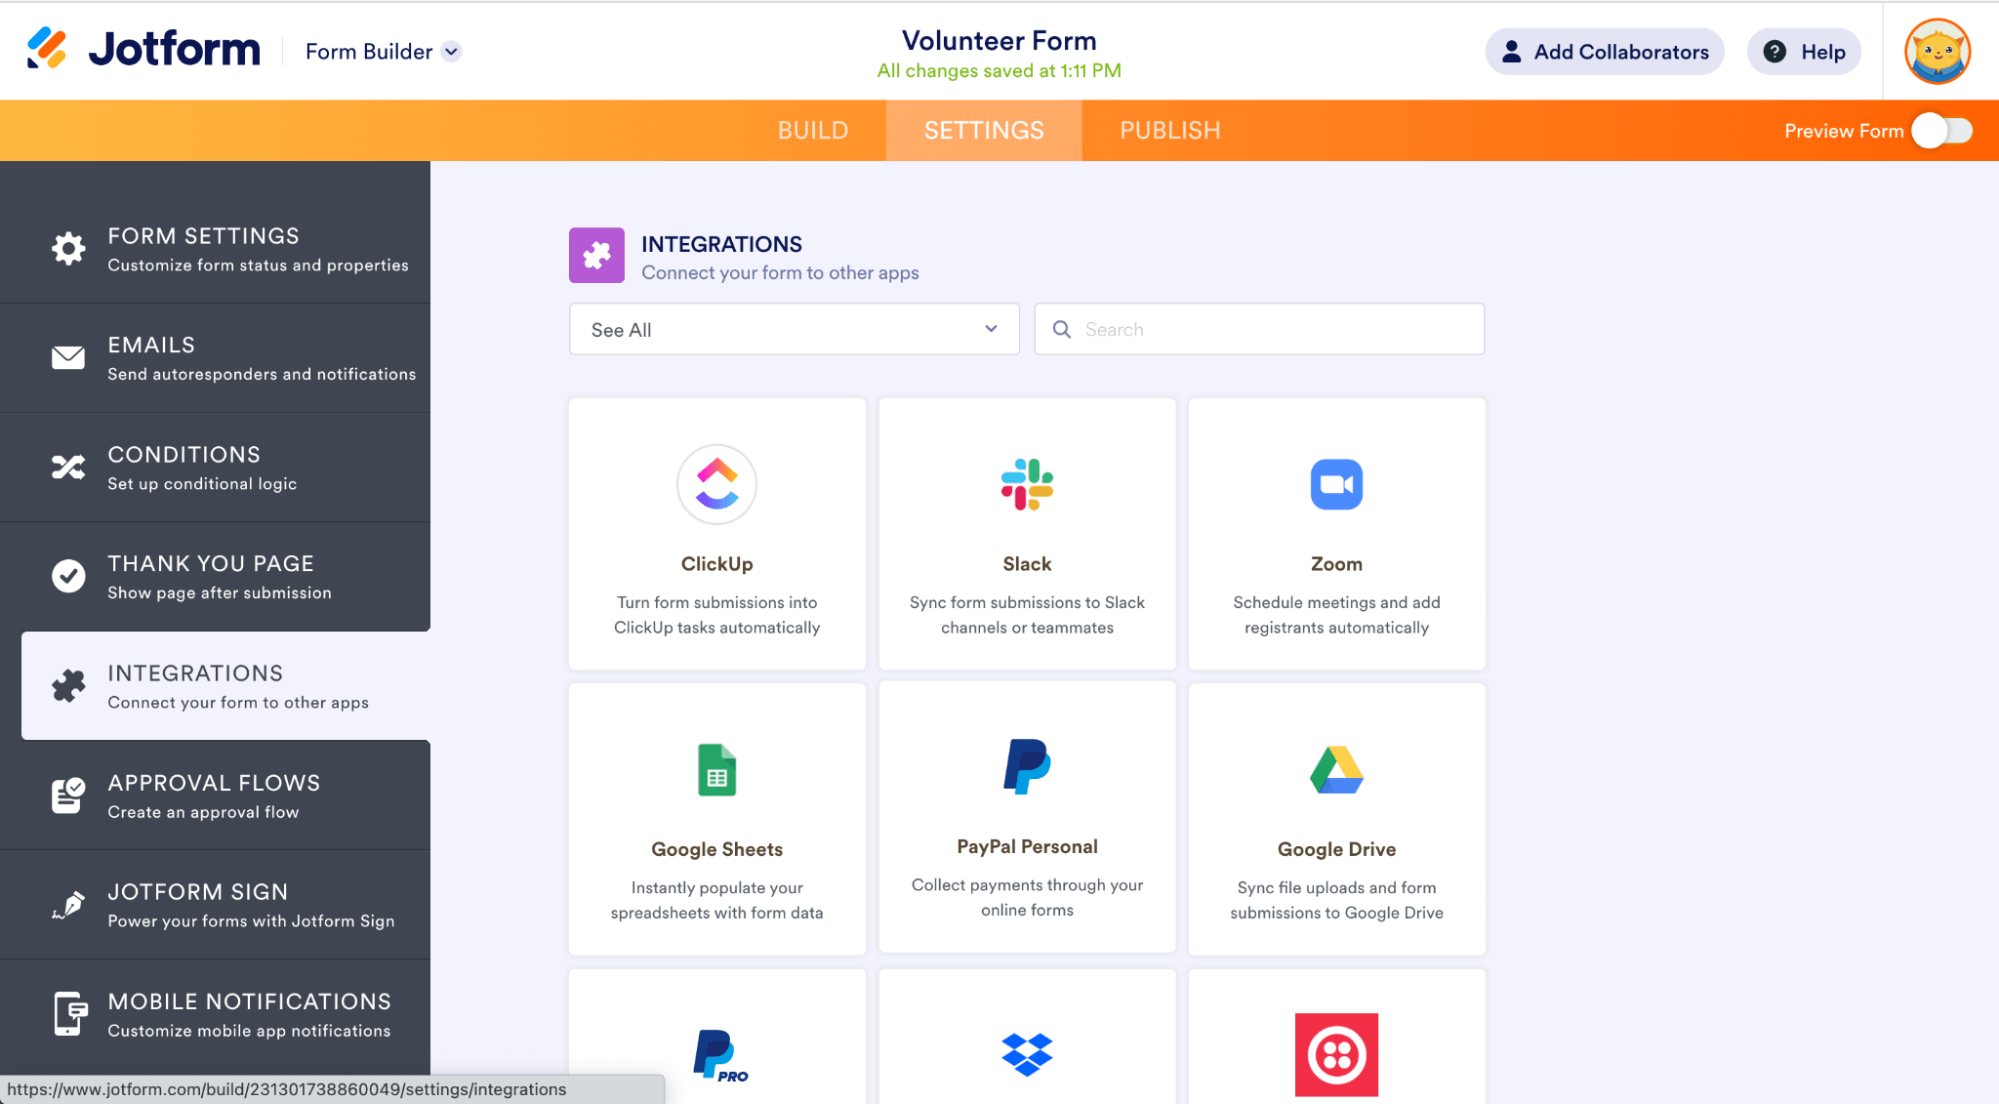
From the list, we select Salesforce and authenticate access to our Salesforce org by clicking on allow. Once that is done, we can choose the operation type and object that the form integrates with
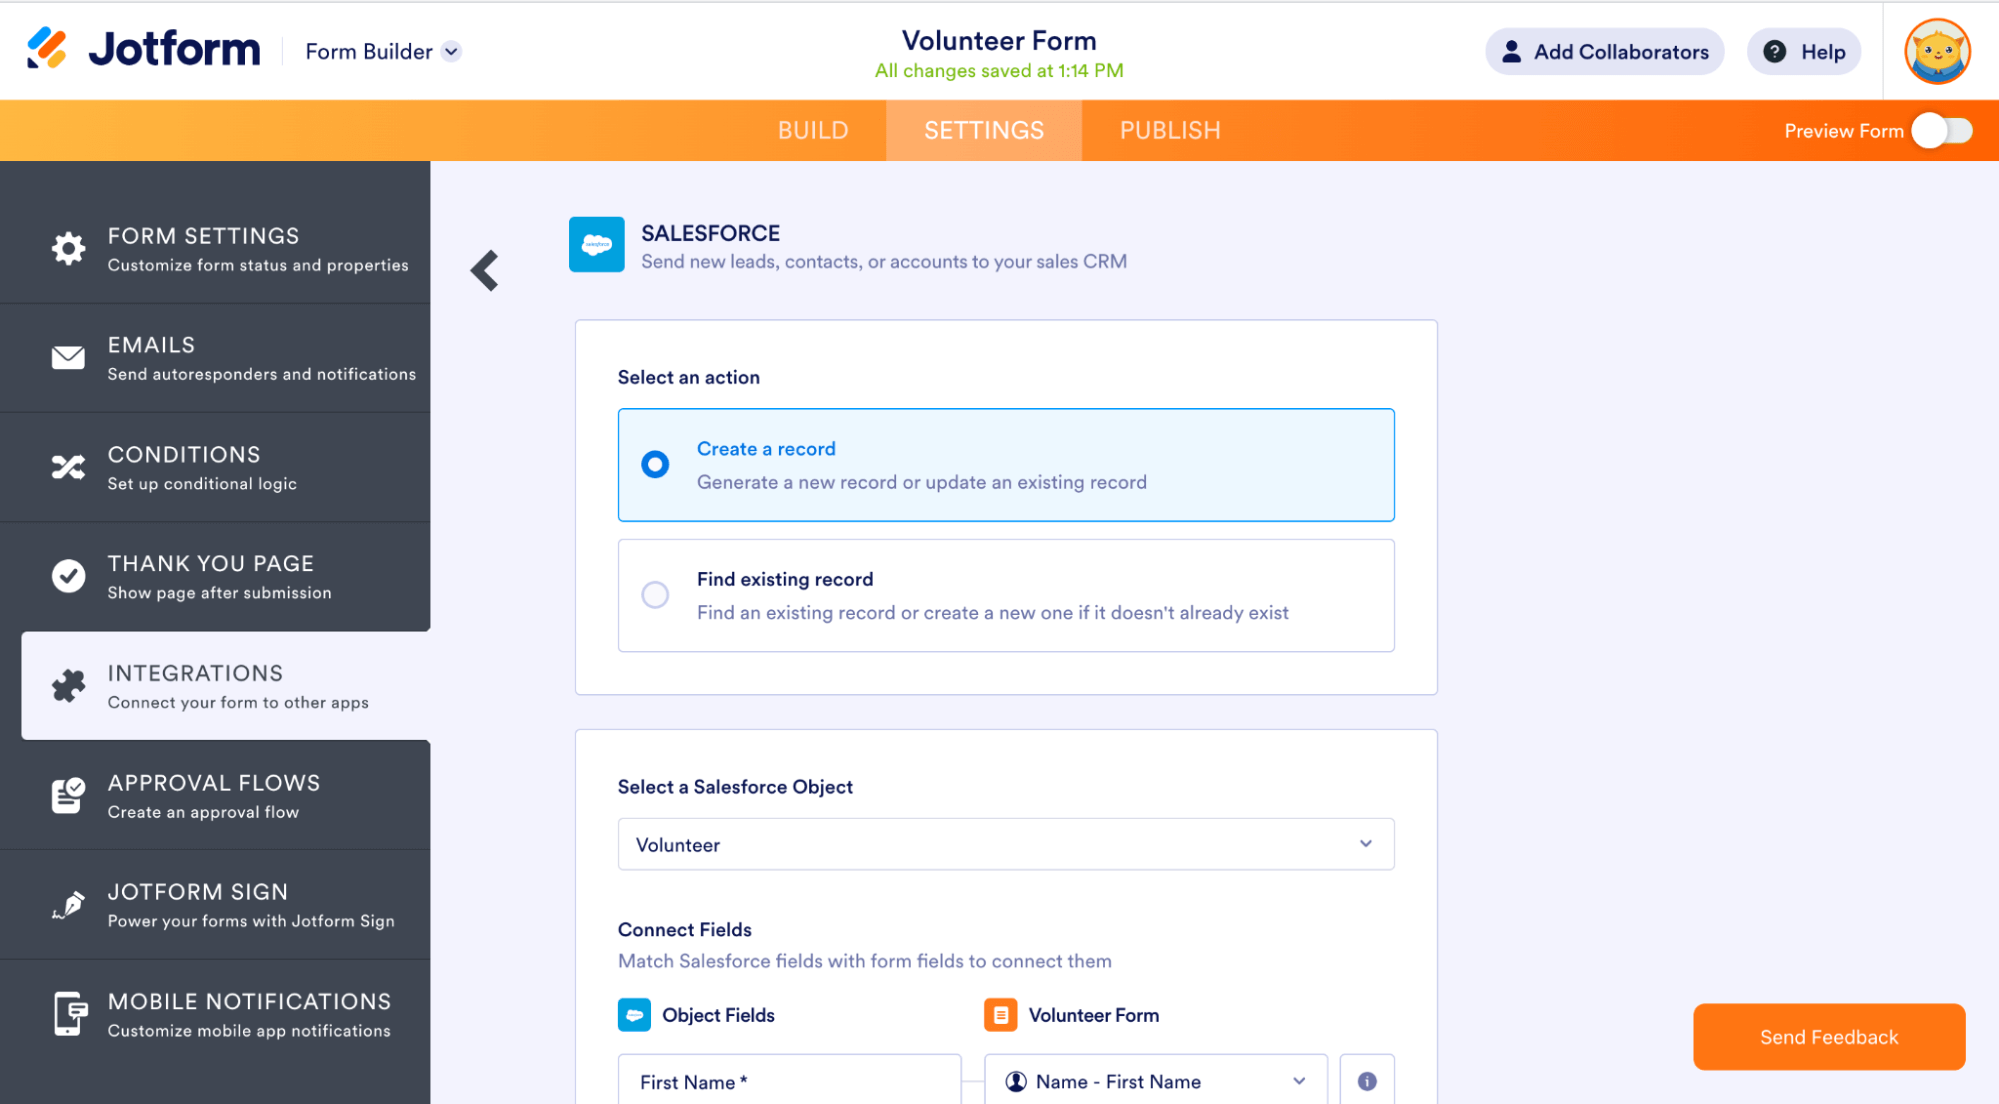
Then we go ahead and map the fields from our form to the fields in our custom object. This gives us the option to customize the amount and type of data being stored in our Salesforce org
One should also ensure to create an update record rule using a unique field for cases where a customer might want to update their information

Once done, click on Save Action > Save Integration > Finish to successfully create a customer facing form that integrates directly with Salesforce.
Our form looks something like this

With the record being stored in our Salesforce org like this
Capturing volunteer data is only the first step—effective communication and coordination are equally important.
Notifications for volunteer leaders help streamline communication, assign responsibilities, and ensure smooth execution of volunteer activities.
Salesforce NPSP offers a comprehensive platform for nonprofit organizations, covering volunteer management, donor engagement, fundraising, and reporting. To explore more insights, guides, and best practices for nonprofits using Salesforce, visit our Salesforce Nonprofits (NPSP) page.
Conclusion
A simple example demonstrated the power of Jotforms and how it integrates with Salesforce with an easy to use interface. It is fairly easy to use CSS to make the form comply with organization guidelines, and also to build conditional logic, or multiple page wizards using Jotforms which allows them to be stored in Salesforce.