Dashboards are a super cool way to visualize your organization data. Earlier when there were static dashboards, the administrators needed to create a clone of dashboards for every level of data access. If any organization has a thousand of sales representatives who want to access a single dashboard then the administrator has to clone the dashboard so that each of the users can access their dashboards. And each dashboard contains corresponding reports, which requires to be cloned as well and was a tedious task for the administrators.
For the solution, Salesforce introduced Dynamic Dashboards in the Summer '10 Release. The Dynamic Dashboards in Salesforce allows multiple users to access the dashboard that was previously accessed only by a single static user.
This specifies that a specific user can utilize the dynamic dashboard alongside a logged-in user and display specific data to both of the users.
With Salesforce Dynamic Dashboards, you can control the visibility of your data without creating any separate dashboard. You can also simplify the data for every Salesforce user in your company.
To further enhance how users interpret dashboard data, Salesforce also supports Conditional Formatting, which visually highlights key values based on defined conditions. When used alongside Dynamic Dashboards, conditional formatting helps users quickly identify trends, risks, and performance indicators without analyzing raw numbers.
Now it is fairly simple to access the Salesforce Dynamic Dashboards.
You will now learn the basics of creating a dashboard in Salesforce Lightning.So, Let’s get started!
Creating Dashboards in Lightning:-
Remember: Before creating a Dashboard be sure to save the dashboards in a Folder always and then you can start creating the Salesforce Dashboards.
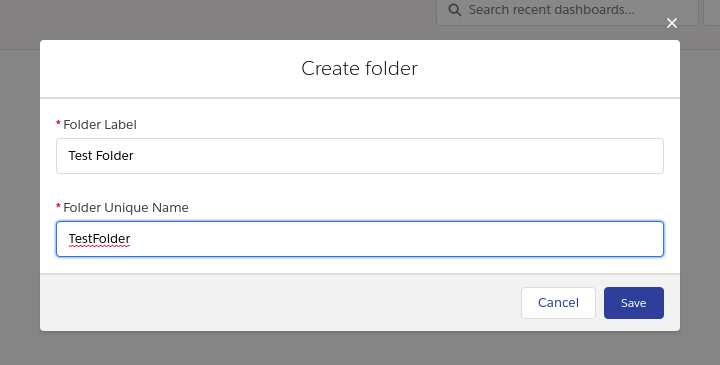
Step 1: In the salesforce org, go to the Dashboard tab and then click on New Folder.

Step 2: Enter the required details while creating the folder. And then click Save.
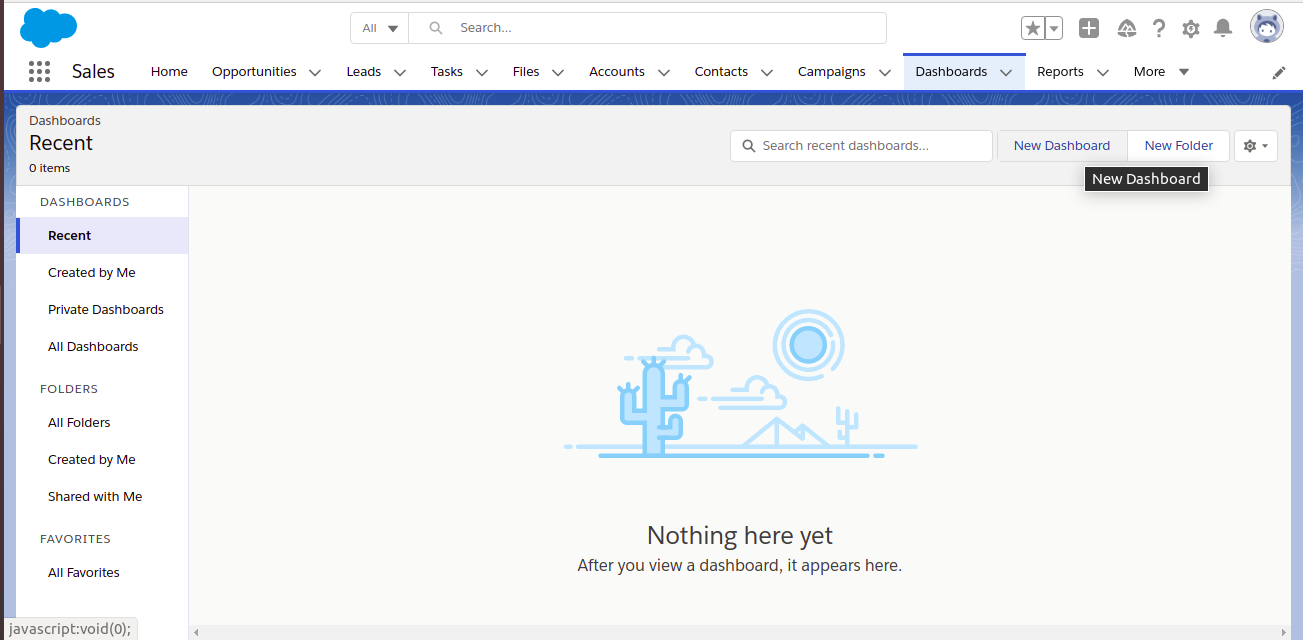
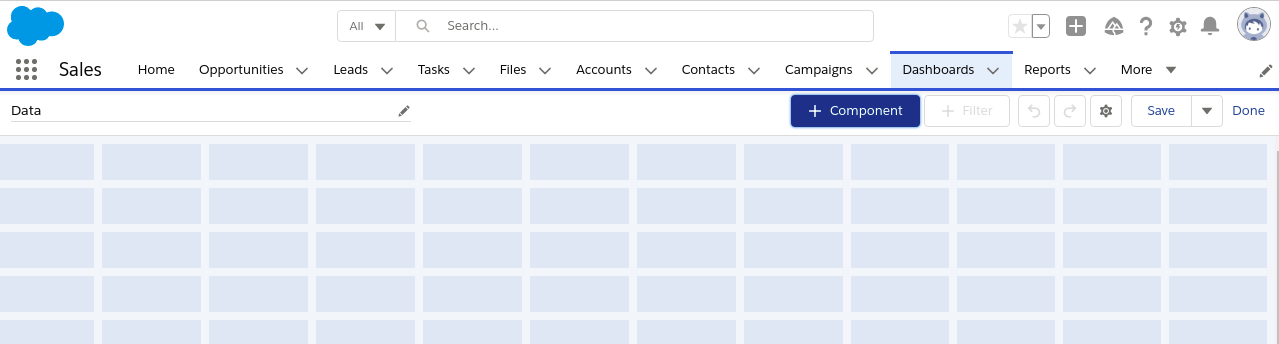
Step 3: Now from the Dashboard tab, click on the New Dashboard.
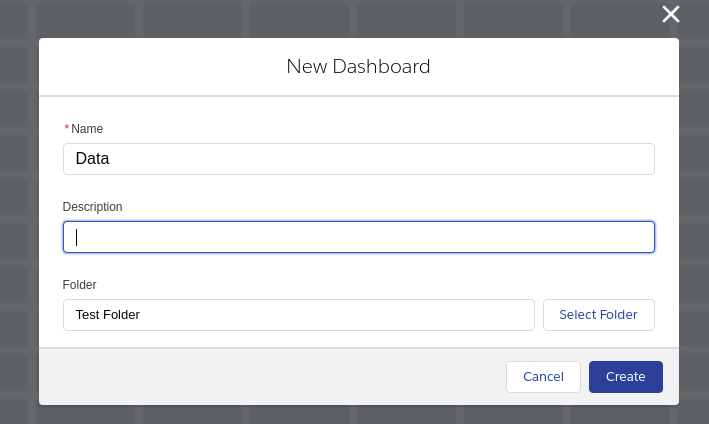
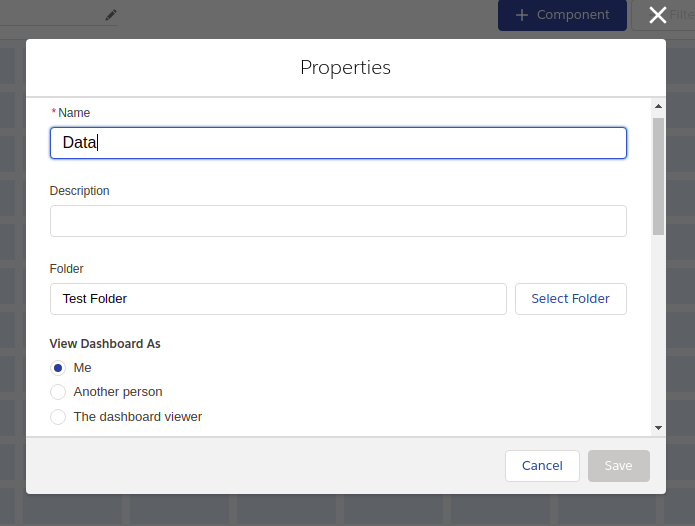
Step 4: When building a new dashboard enter the Name of the Dashboard and optionally you can also enter the description as well. And then select the folder where you wish to save the dashboard.
Step 5: Now, click on + Component to add the component to the dashboard.
After adding a component to the dashboard follow the below-mentioned steps:-
- Choose a source report for the component and then click Select.
- Customize how the component displays the required data and then click Add.
- Resize and arrange the component as per need
- If you want to edit any existing component then click on the pencil icon.
- If you want to remove a component, click on the X icon.
Step 6: Now click on + Filter, to add a filter to the component.
- From the Field drop-down, select the field to filter on.
- Give a Display Name to the filter to uniquely identify it.
- Insert values to the filter by clicking Add Filter Value
Step 7: Now determine who can view the dashboards. Click on the gear icon to open the Properties menu. And then enter the required details and select the view dashboard permission.
- Me: The people view the dashboard as you.
- Another person: The people view the dashboard as whomever you choose.
- The dashboard viewer: People can see data as themselves, according to their own access to the data.
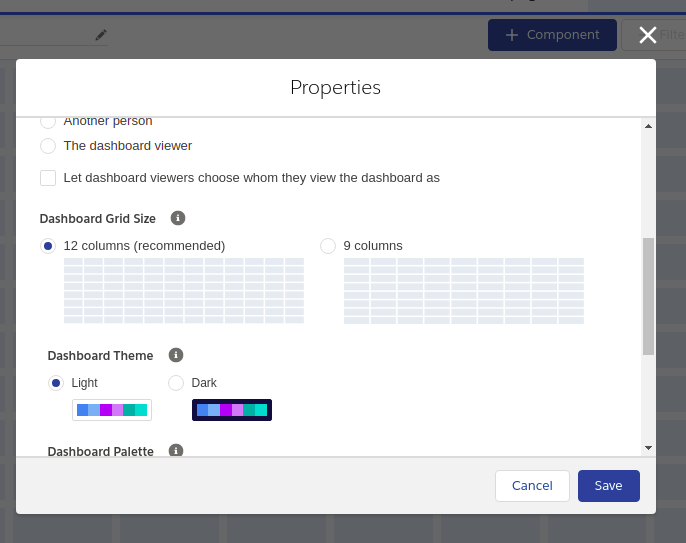
- Let dashboard viewers choose whom they view the dashboard as: Optionally, you can choose this option to enable a reader with the appropriate user permissions to choose who they view the dashboard as.
After this hit Save.
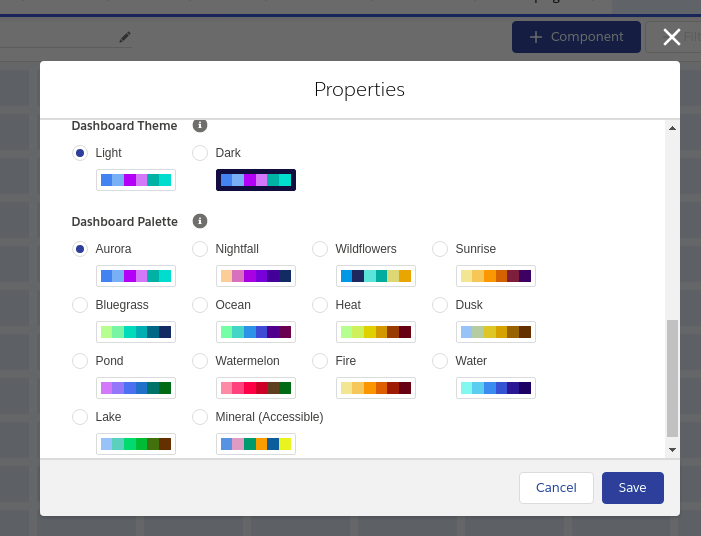
Step 8: If you want to customize the dashboard theme or color palette then open the Properties menu by hitting the gear icon.
Step 9: You can switch between a 12-column and 9-column layout from the Properties menu by hitting the gear icon only.
Step 10: At last Click Save and then click Done.
Ready to Create Auto-Response Rule Entries
- The administrator doesn't need to clone the dashboard for every single user now.
- The dynamic dashboards save the time and efforts of the administrator.
- Data becomes more streamlined for Salesforce users in the organization.
- The user can easily access the Dynamic Dashboard.
Dynamic Dashboards Limitations -
- The refreshes can’t be scheduled for dynamic dashboards. You can update them manually.
- The dynamic dashboard can’t be saved in the private folders.
- You can only use the dynamic dashboard to display the user-specific data.
Since Dynamic Dashboards cannot be scheduled for refresh, organizations often need alternative ways to track historical trends. One effective approach is using Reporting Snapshots in Salesforce, which allow you to capture point-in-time report data and store it in a custom object. Reporting Snapshots complement Dynamic Dashboards by enabling long-term performance analysis and historical
Start using the Dynamic Dashboards to save you time and effort. The power is now in your hands!!
Dynamic Dashboards are a core capability within Sales Cloud, empowering sales teams with real-time visibility and data-driven insights. To explore more Salesforce Sales Cloud features such as reporting, automation, forecasting, and opportunity management, visit our Sales Cloud Hub.
For any query on Salesforce Dynamic Dashboards, contact support@astreait.com